How to Build a Handrail With Tube Clamps (In 30 Mins)

Now you don't need to wait and hire someone to build a handrail for you. With a few tube clamp fittings, you can put up a handrail yourself in just 30 mins. Whether you're trying to make your steps safer or you're just tired of grabbing the wall every time it rains, building your own handrail is way more doable than you'd expect.
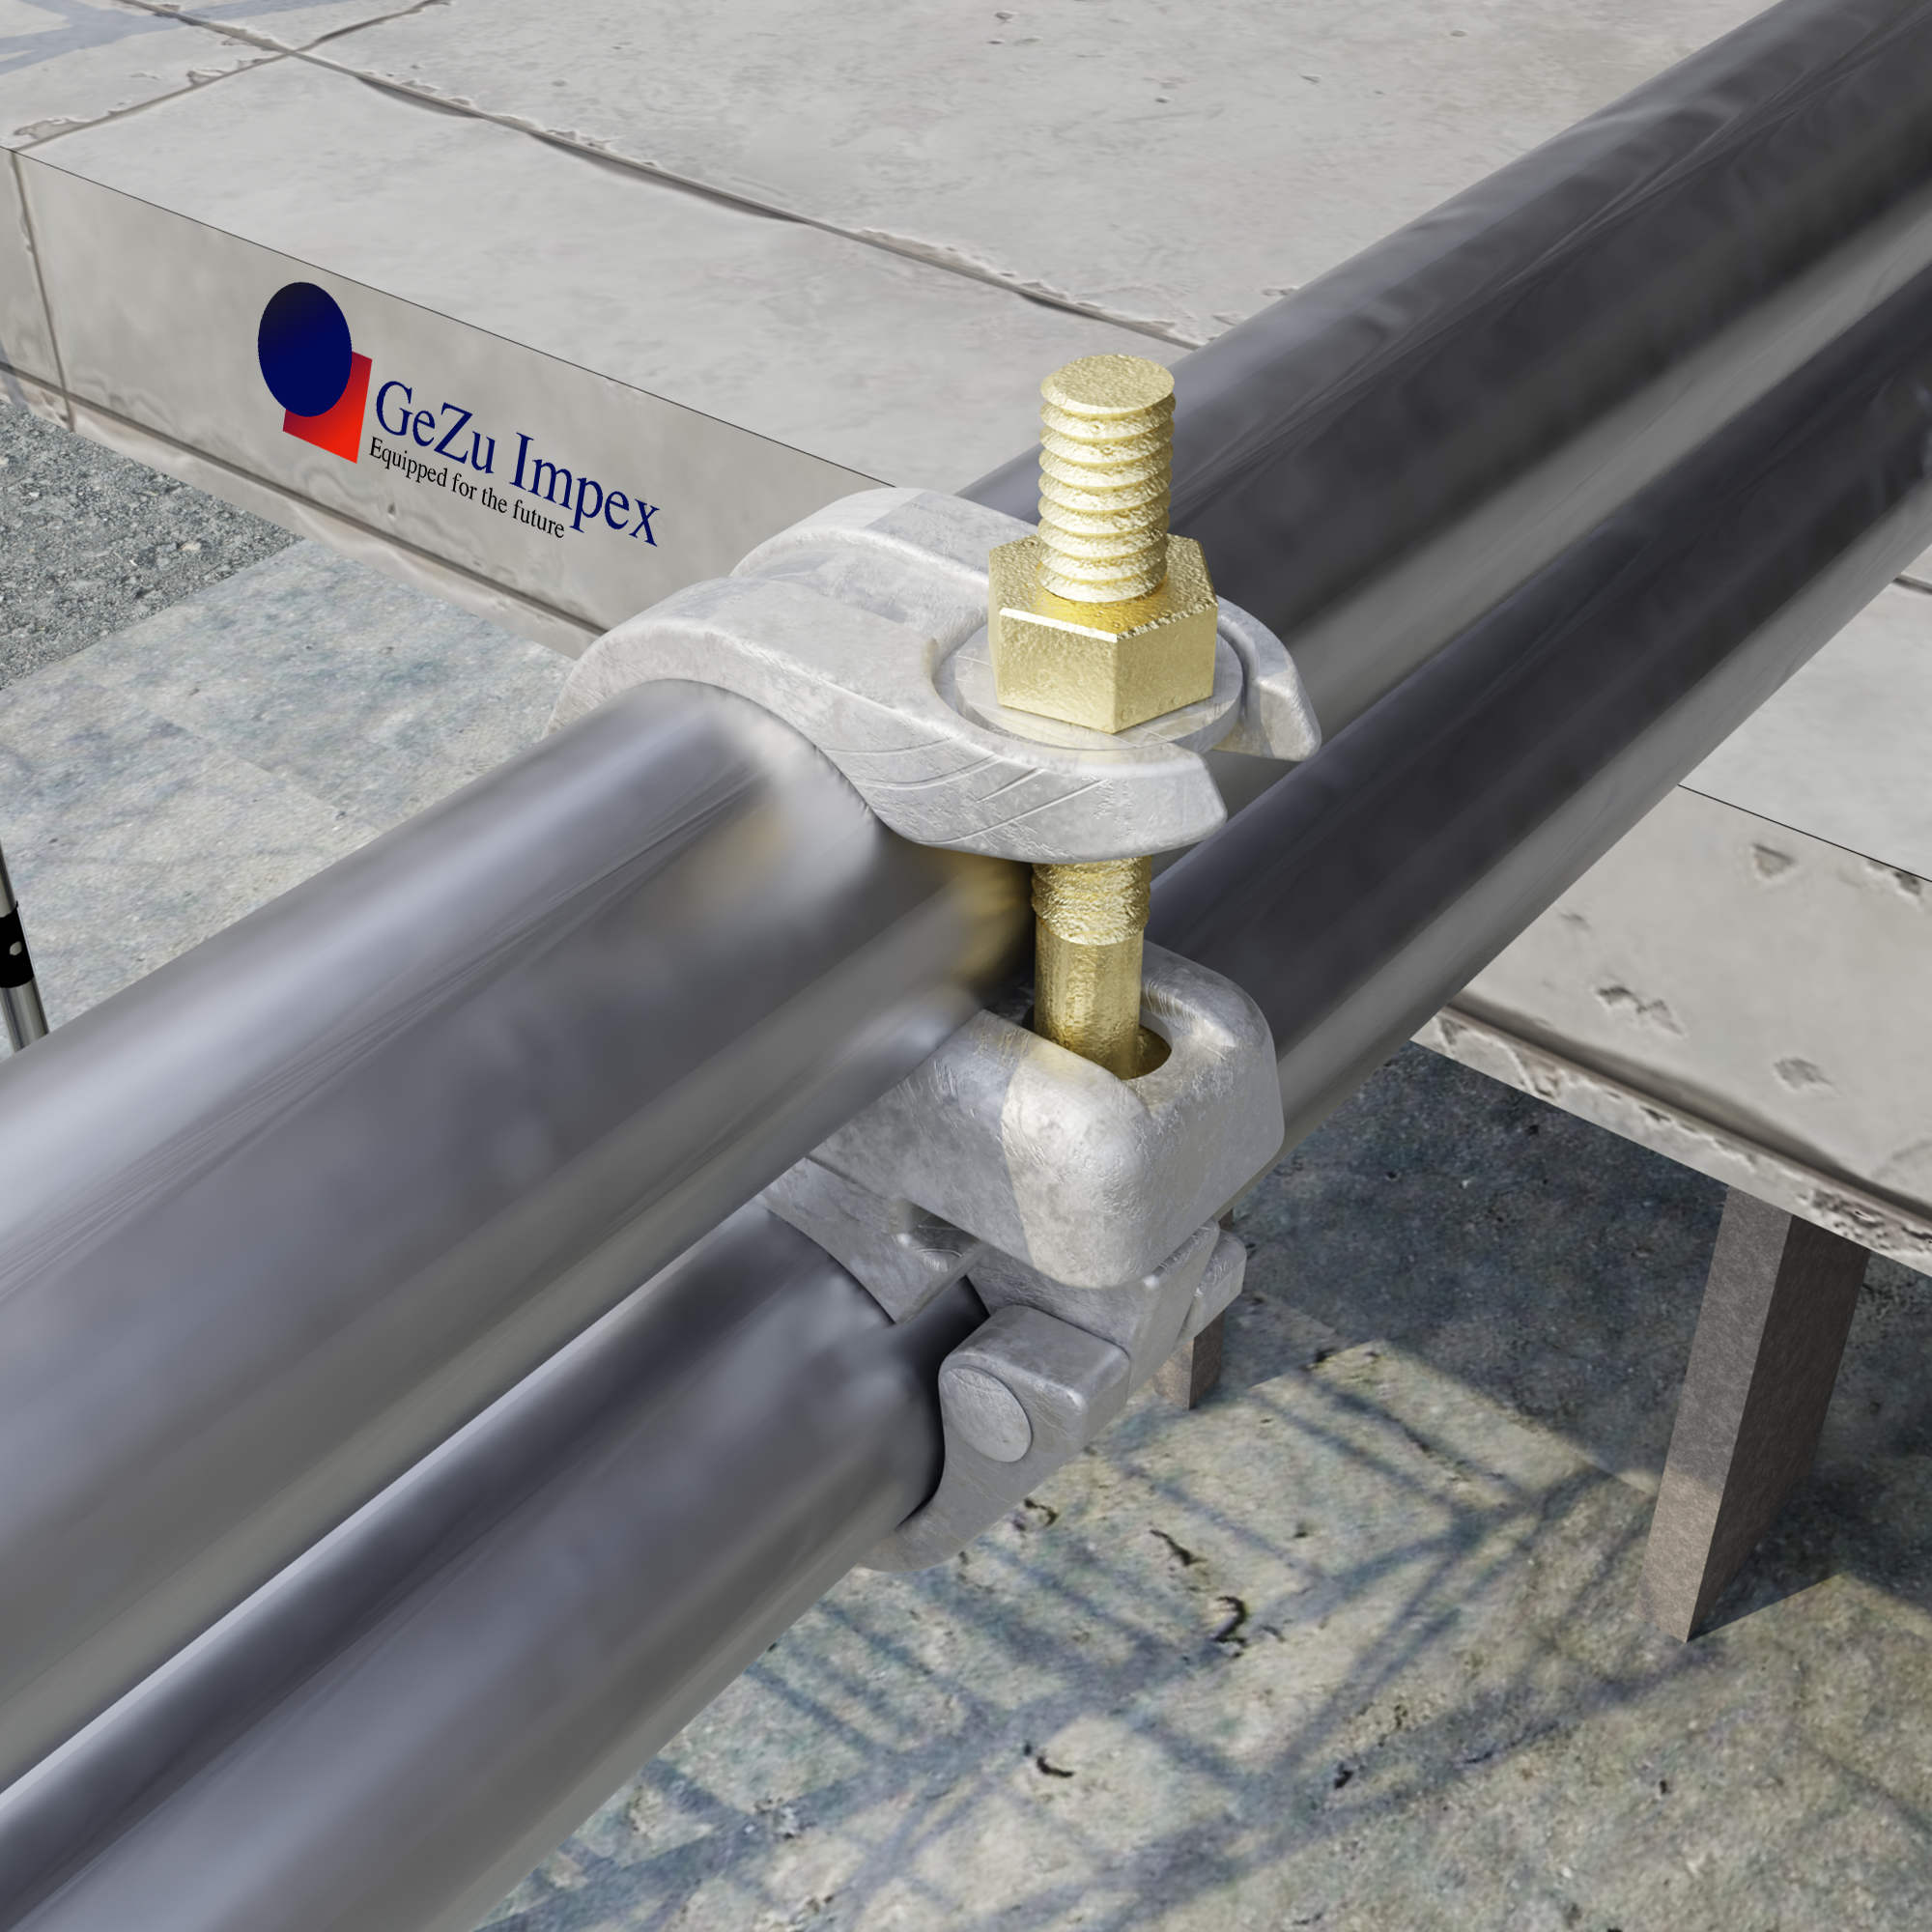
This guide walks you through the whole thing from first measurement to final plug. And one thing before we start, please don't build this out of PVC. Just don't. Make sure to use galvanised steel tube clamps for better stability. Let’s learn how to build a handrail with tube clamps.
Step 1: Plan Your Handrail Design & Measure the Area
First, think about where you’re putting the handrail. Is it on a staircase, a ramp, a balcony, or just along a walkway? Also, is it going inside or outside? This helps you figure out what you’ll need later.
Before you spend a single dollar, you need to measure your staircase. Grab a pencil and do a simple sketch of the area. It doesn't need to be pretty, just something you can write numbers on.

Mark where you want each post to sit, then take these three measurements:
-
The height of each step (rise)
-
The depth of each step (run)
-
The offset — how far from the edge of the step your post will sit
Write everything down as you go.
Step 2: Do Your Calculations & Pick the Right Tube Clamps
This is an important step because it helps you figure out how much pipe you need and which fittings will work for your stair angle. This is the only part that requires a bit of thinking, but it’s not as hard as it sounds. First, make sure both posts are the same height. OSHA code sets the minimum height at 42 inches, so you can use that as your standard.
Next, you need to figure out the angle of your staircase for the handrail. For that, add up all the step heights to get the total rise and add up all the step depths to get the total run. Then use this formula: Angle = arctan(Total Rise ÷ Total Run)
This gives you the angle of your stairs, which helps you choose the right fittings. For most homes, a swivel fitting works well because it can adjust to almost any angle, so you don’t have to be exact. Now for the rail length, use this formula: Rail Length = √(Rise² + Run²)

This tells you how long your handrail should be. Since the fittings will cover a little bit of the pipe on both ends, subtract about 2 inches from the final length before you order your steel pipe.
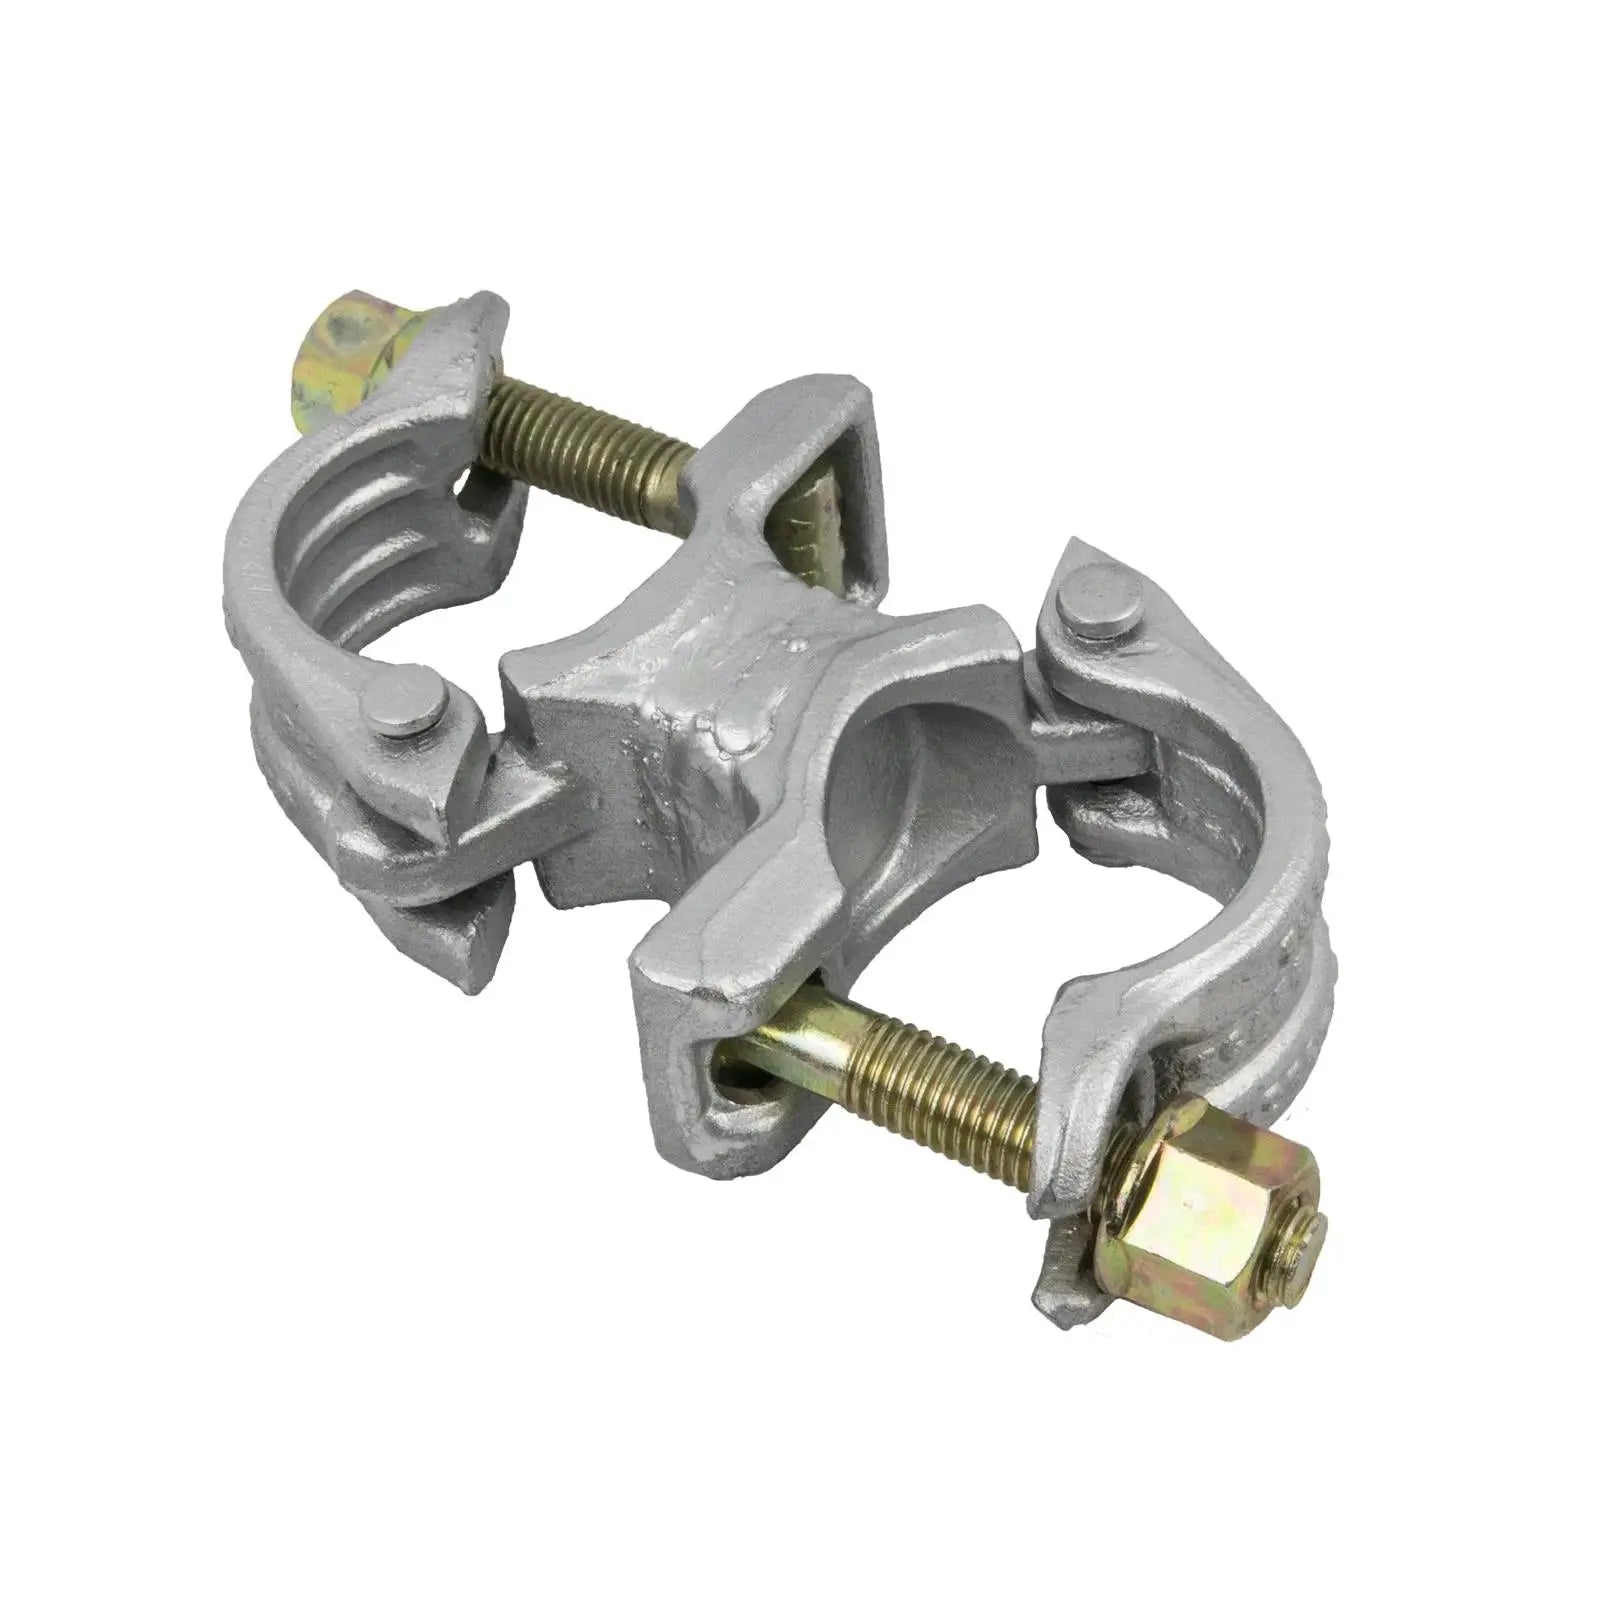
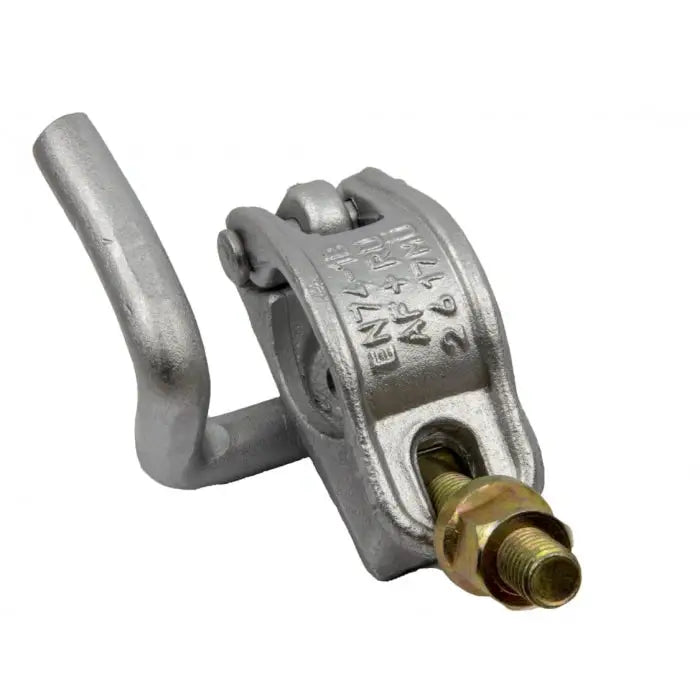
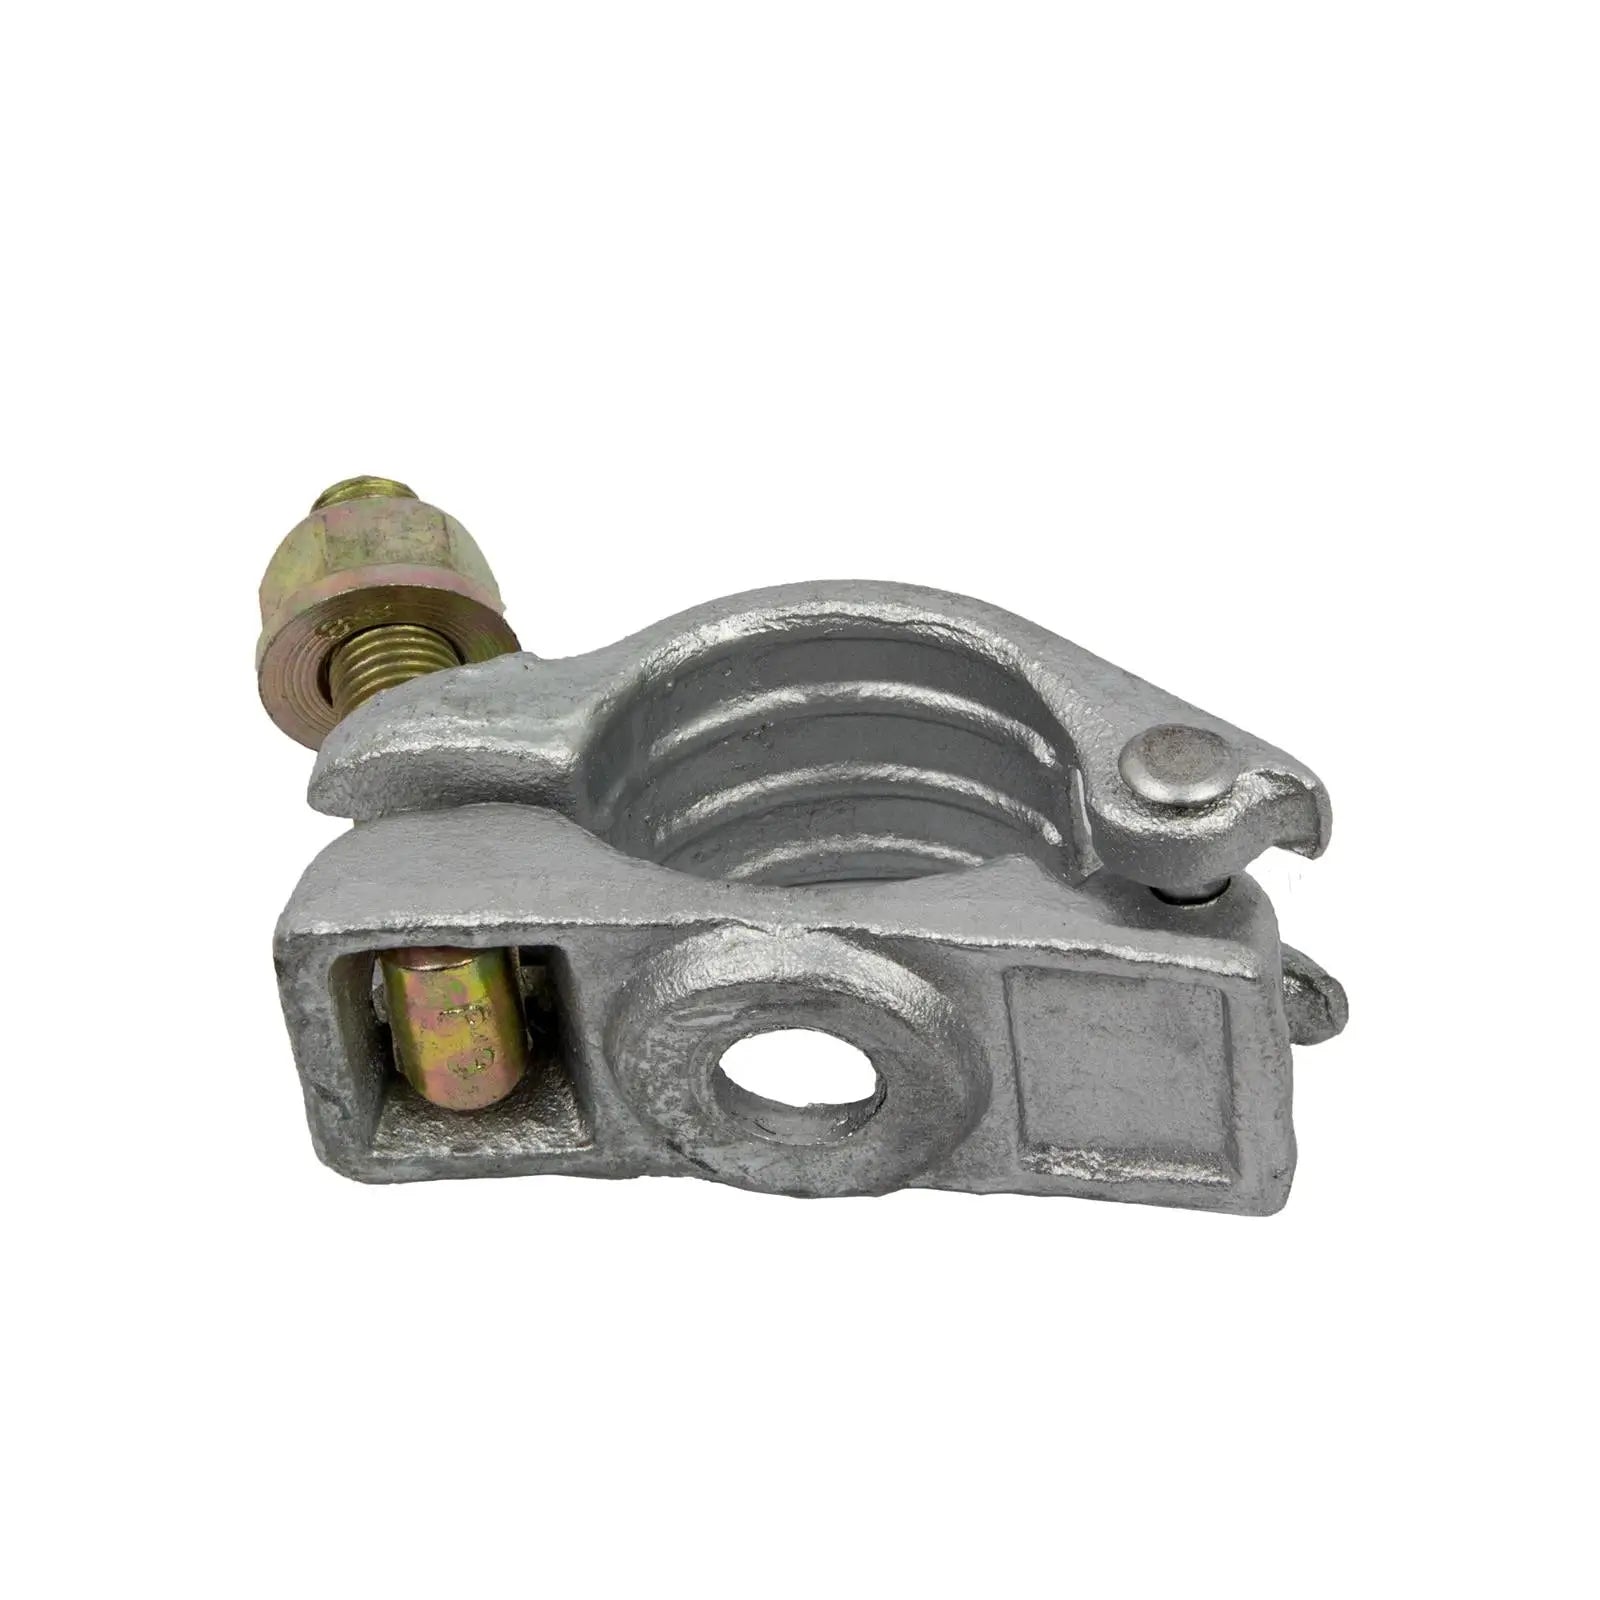
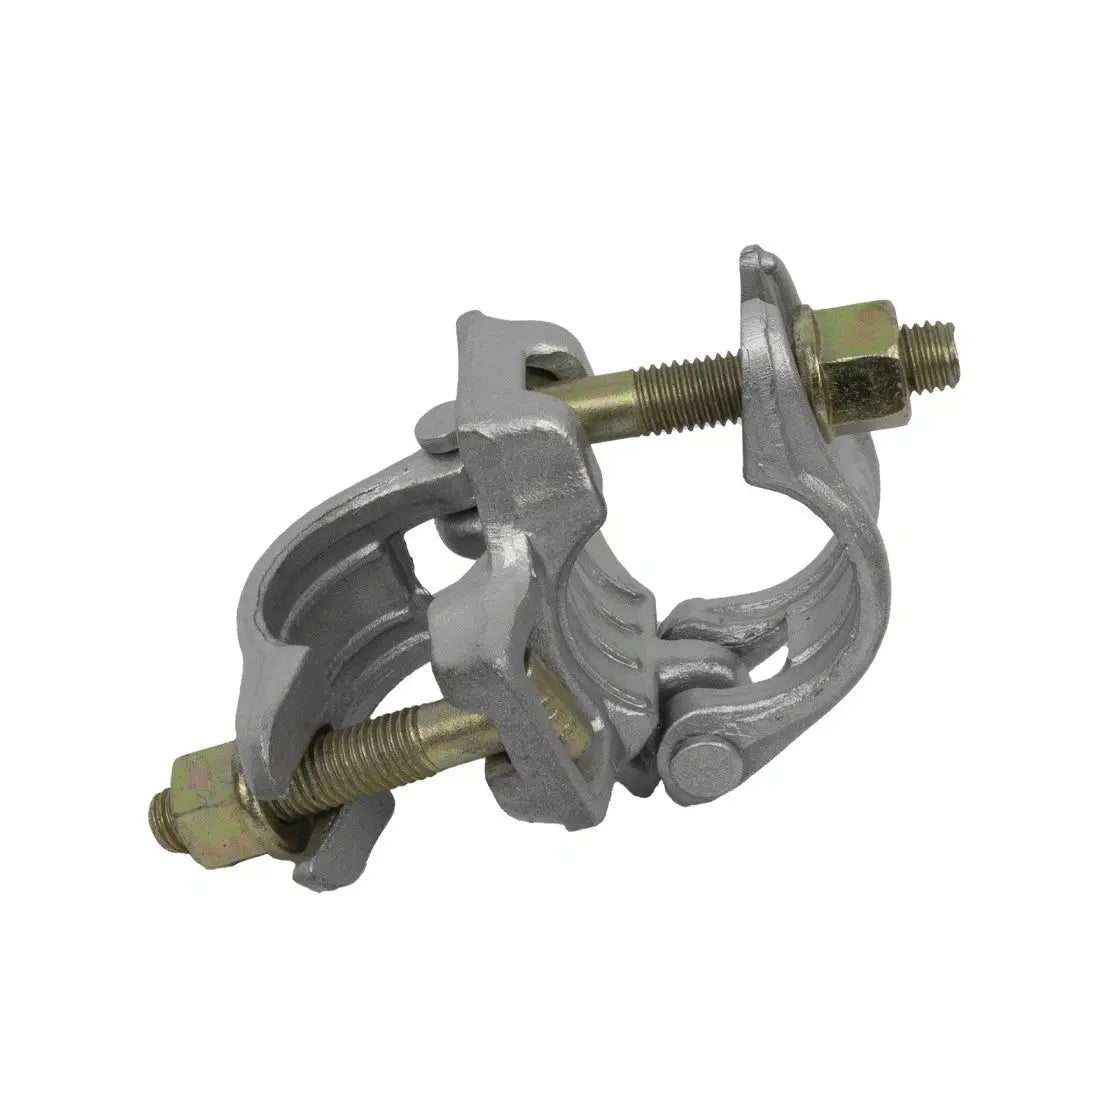
Now you’ve figured out what pipe fittings you need:
Note: pipe fitting types used for the handrail depend on your design.
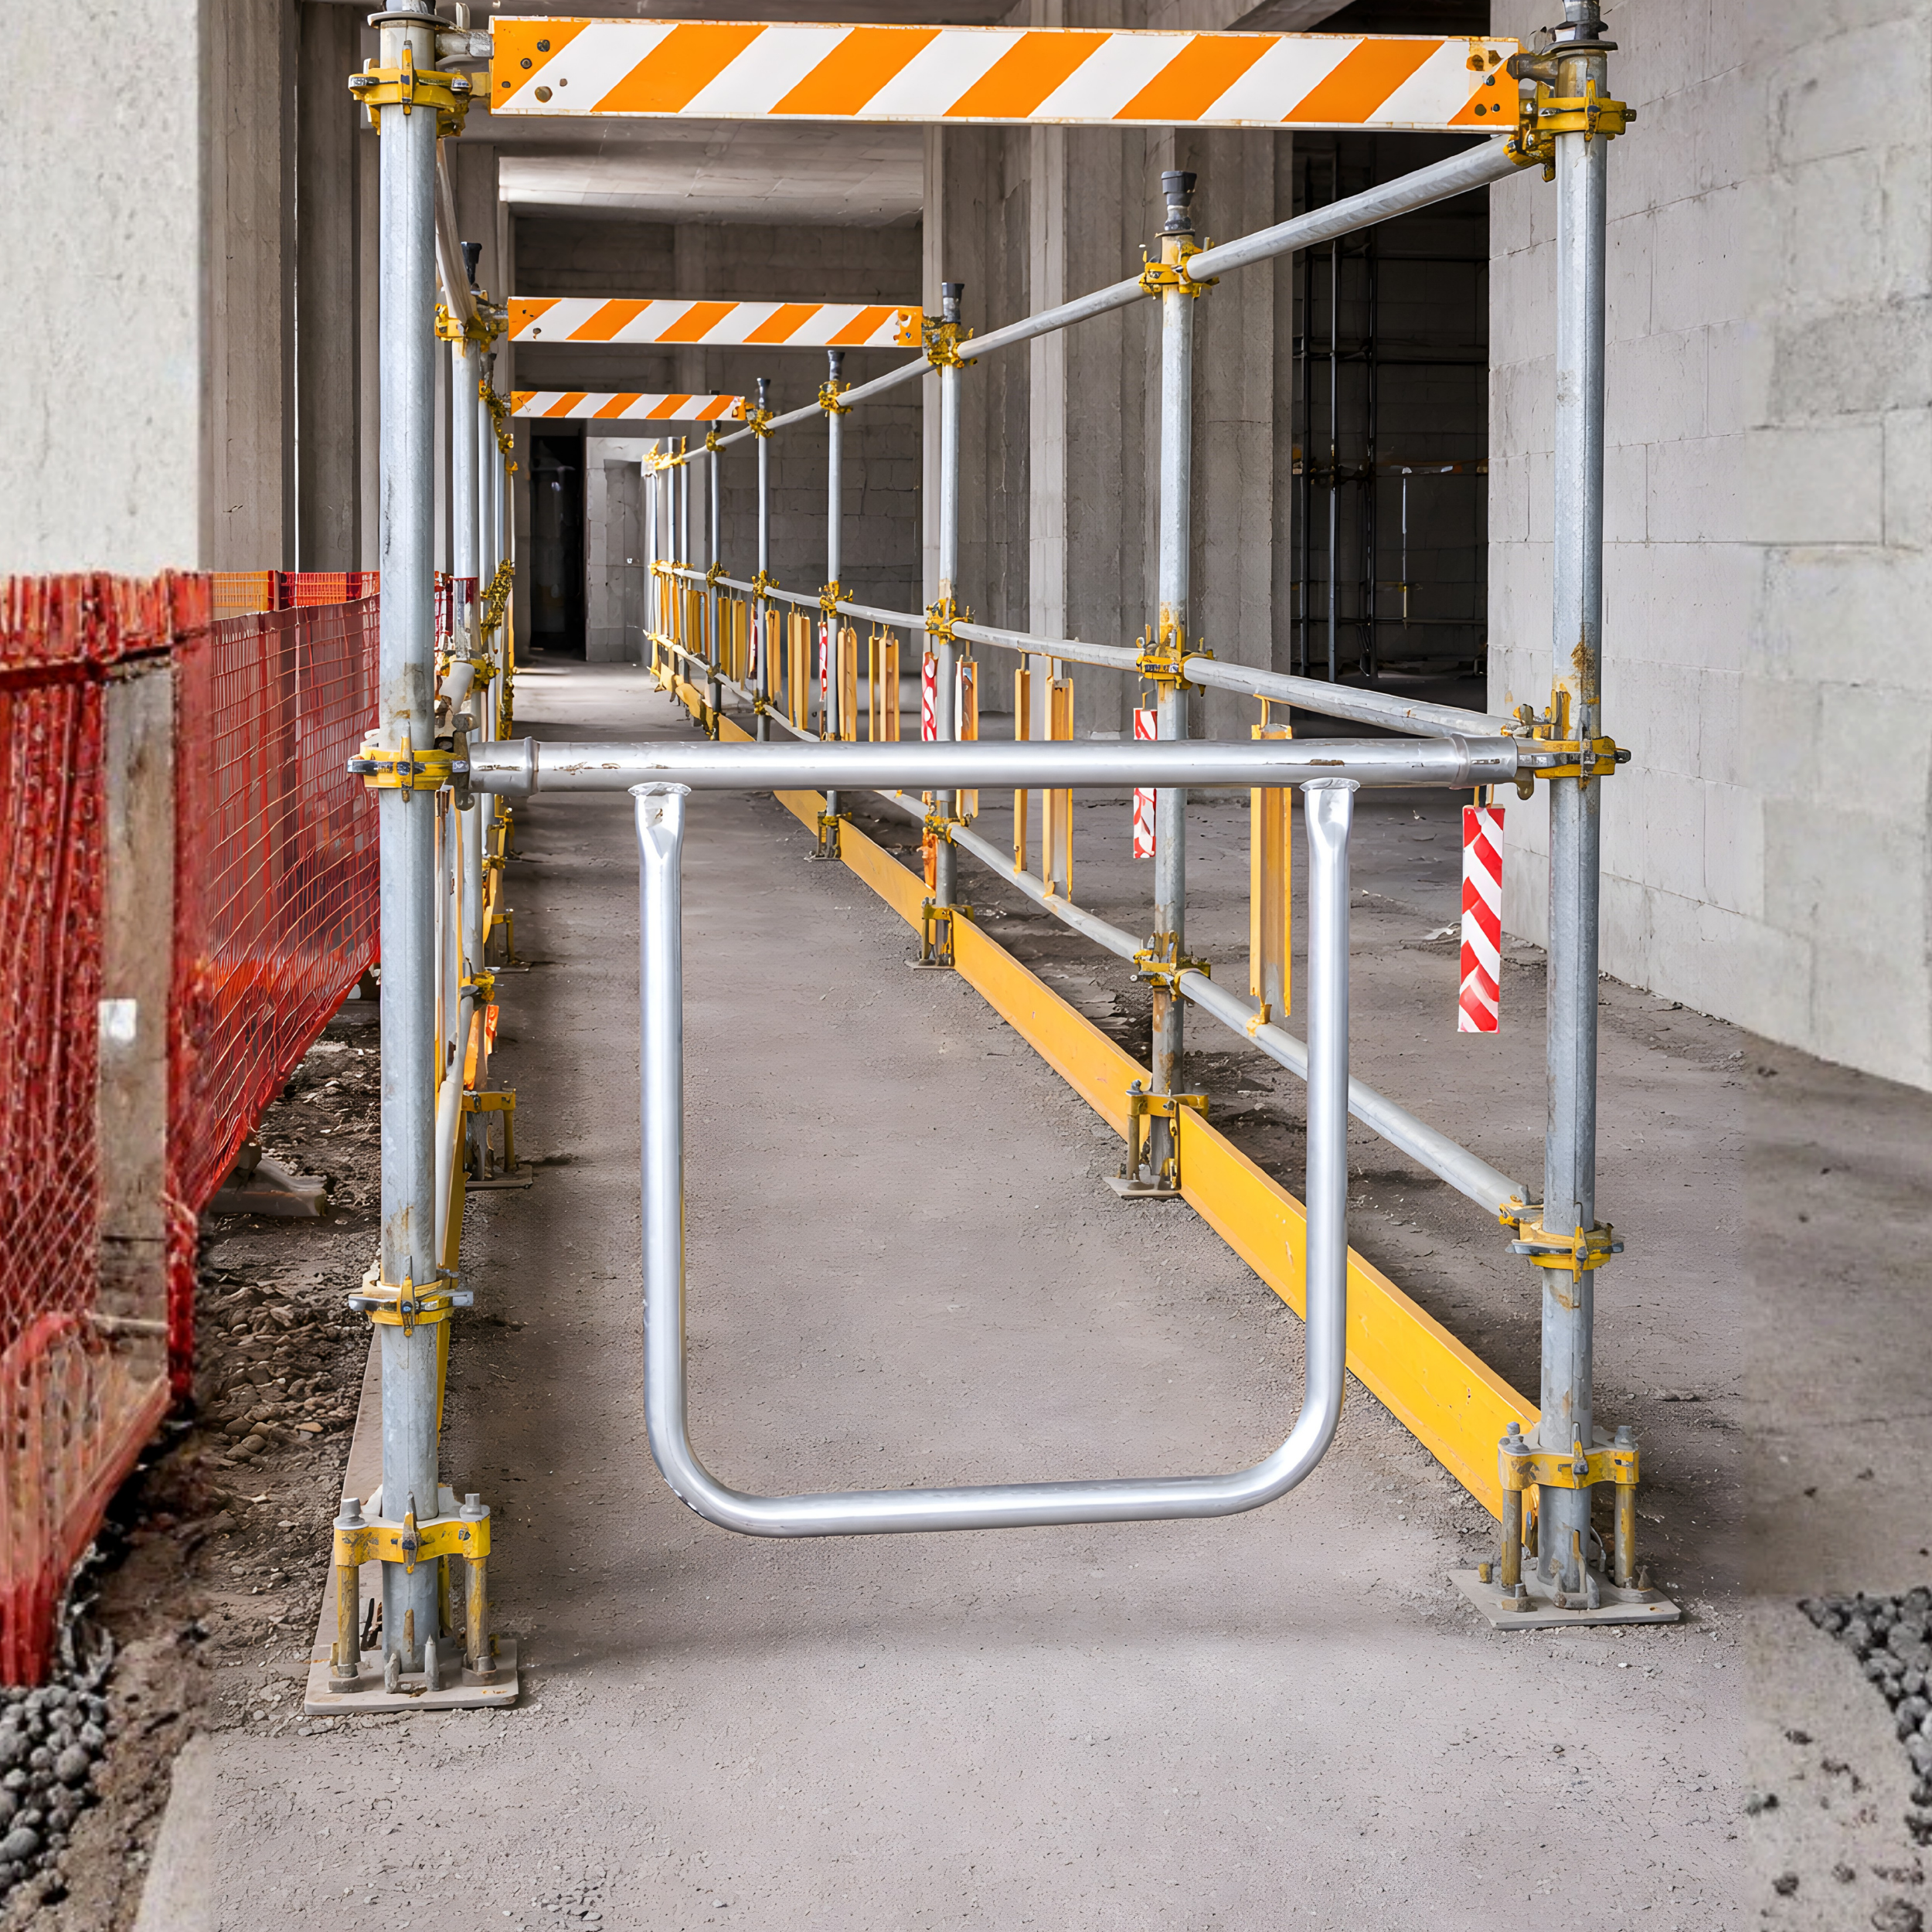
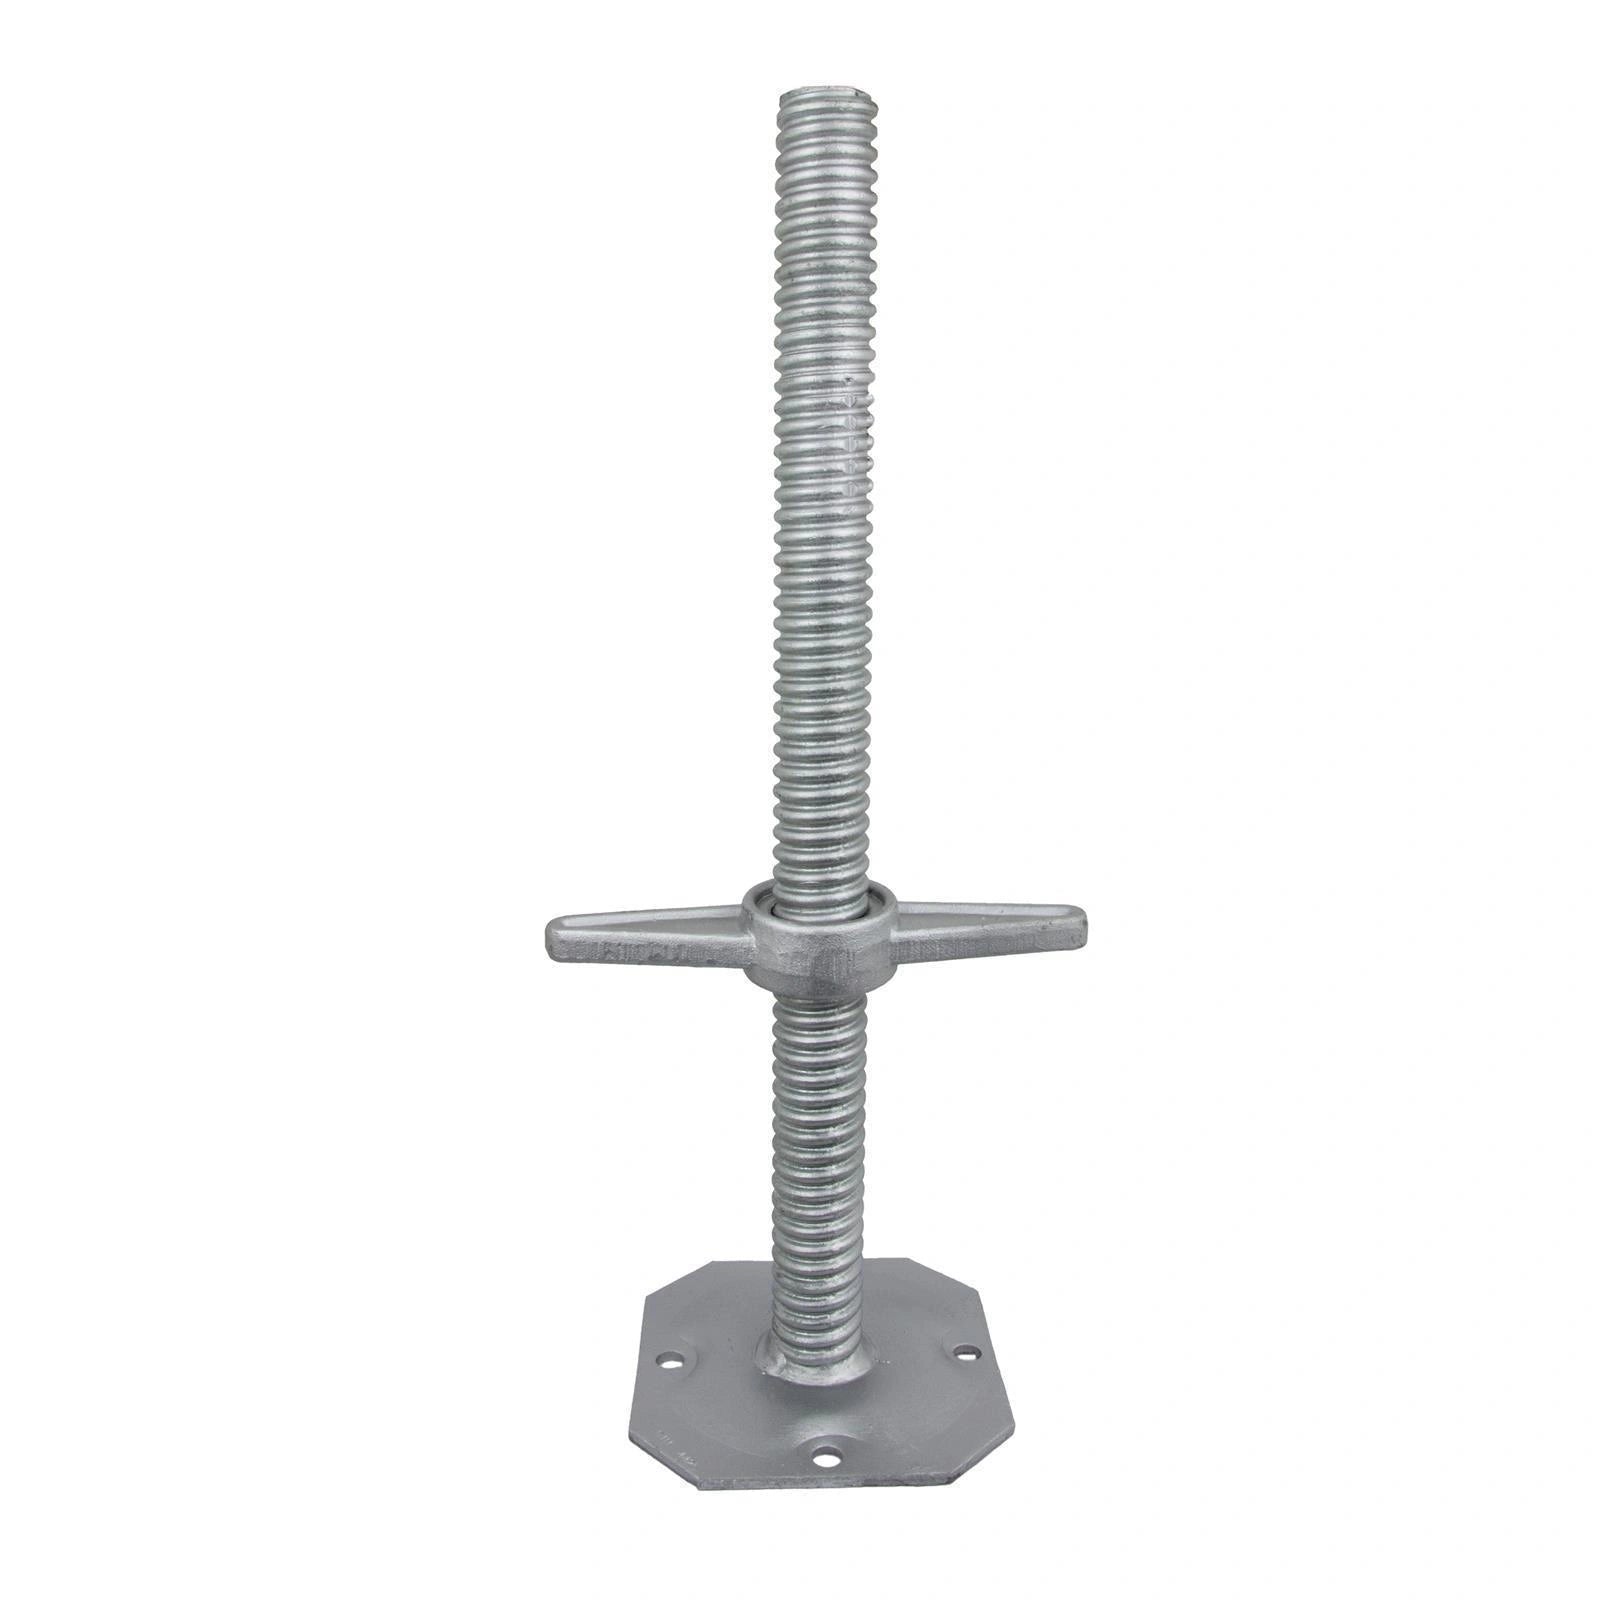
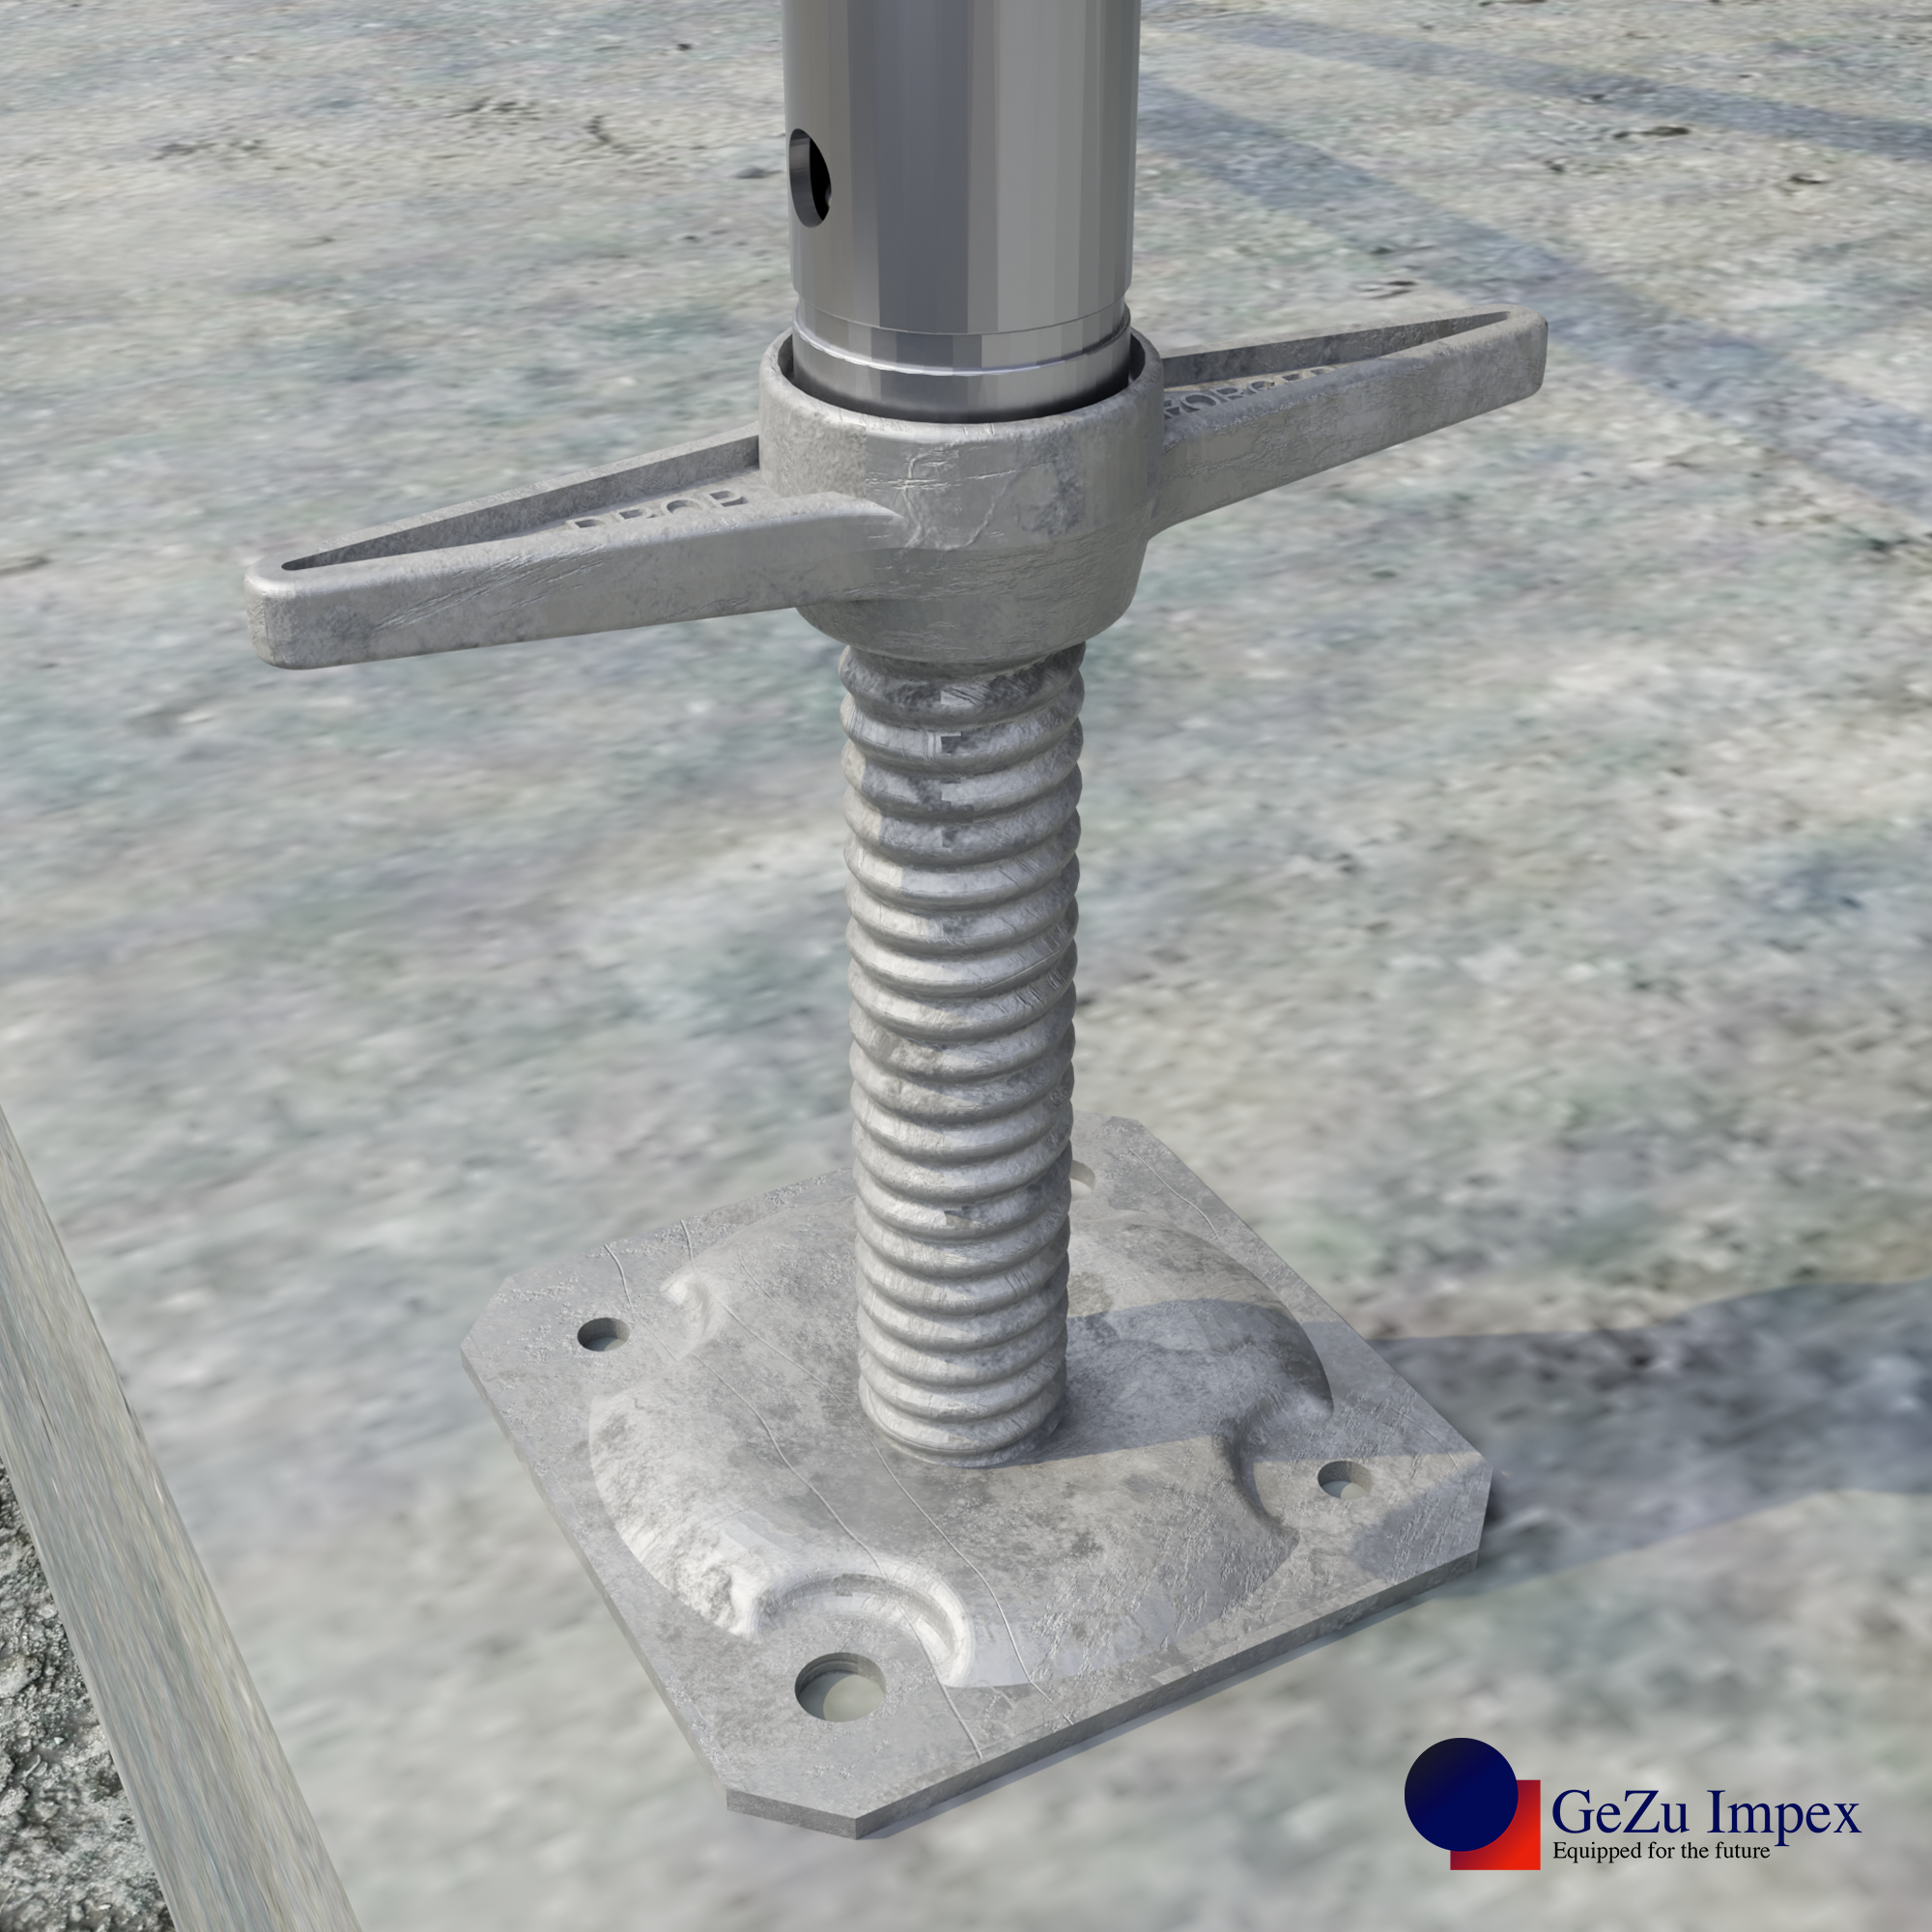
Step 3: Place and Secure the Bottom Flange
Now it’s time to attach parts to build a handrail with tube clamps. We're building from the bottom up; it takes a little extra care, but it guarantees a solid result. Place your base flange on the floor so the center of the circle lines up exactly with your post mark.

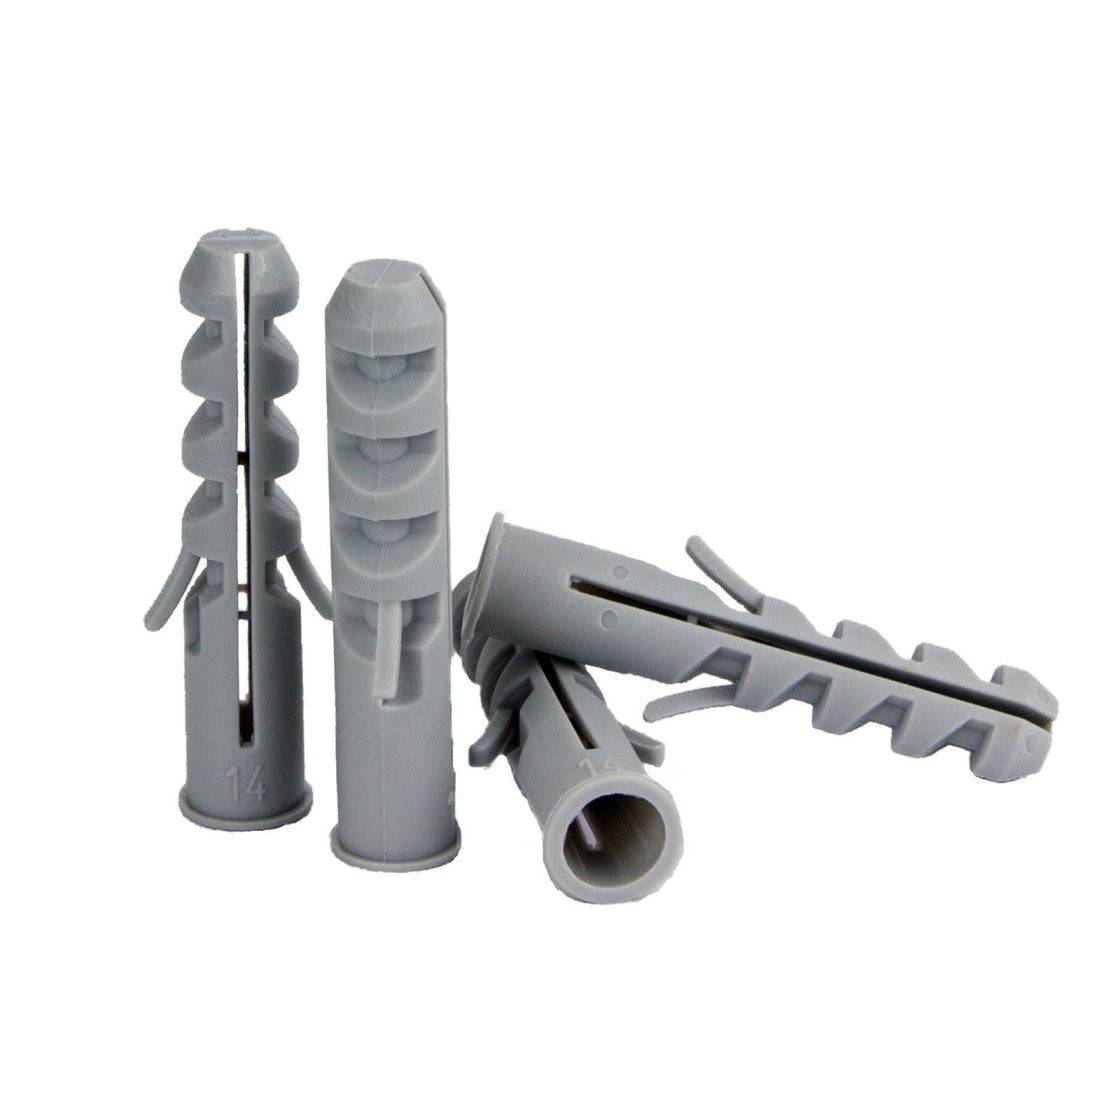
Using a marker, mark the two anchor hole locations through the flange, then remove it and drill holes into the concrete with your concrete bit. Place the flange back over the holes, insert the bolts/anchors and tighten them down. A ratchet helps get them fully seated.
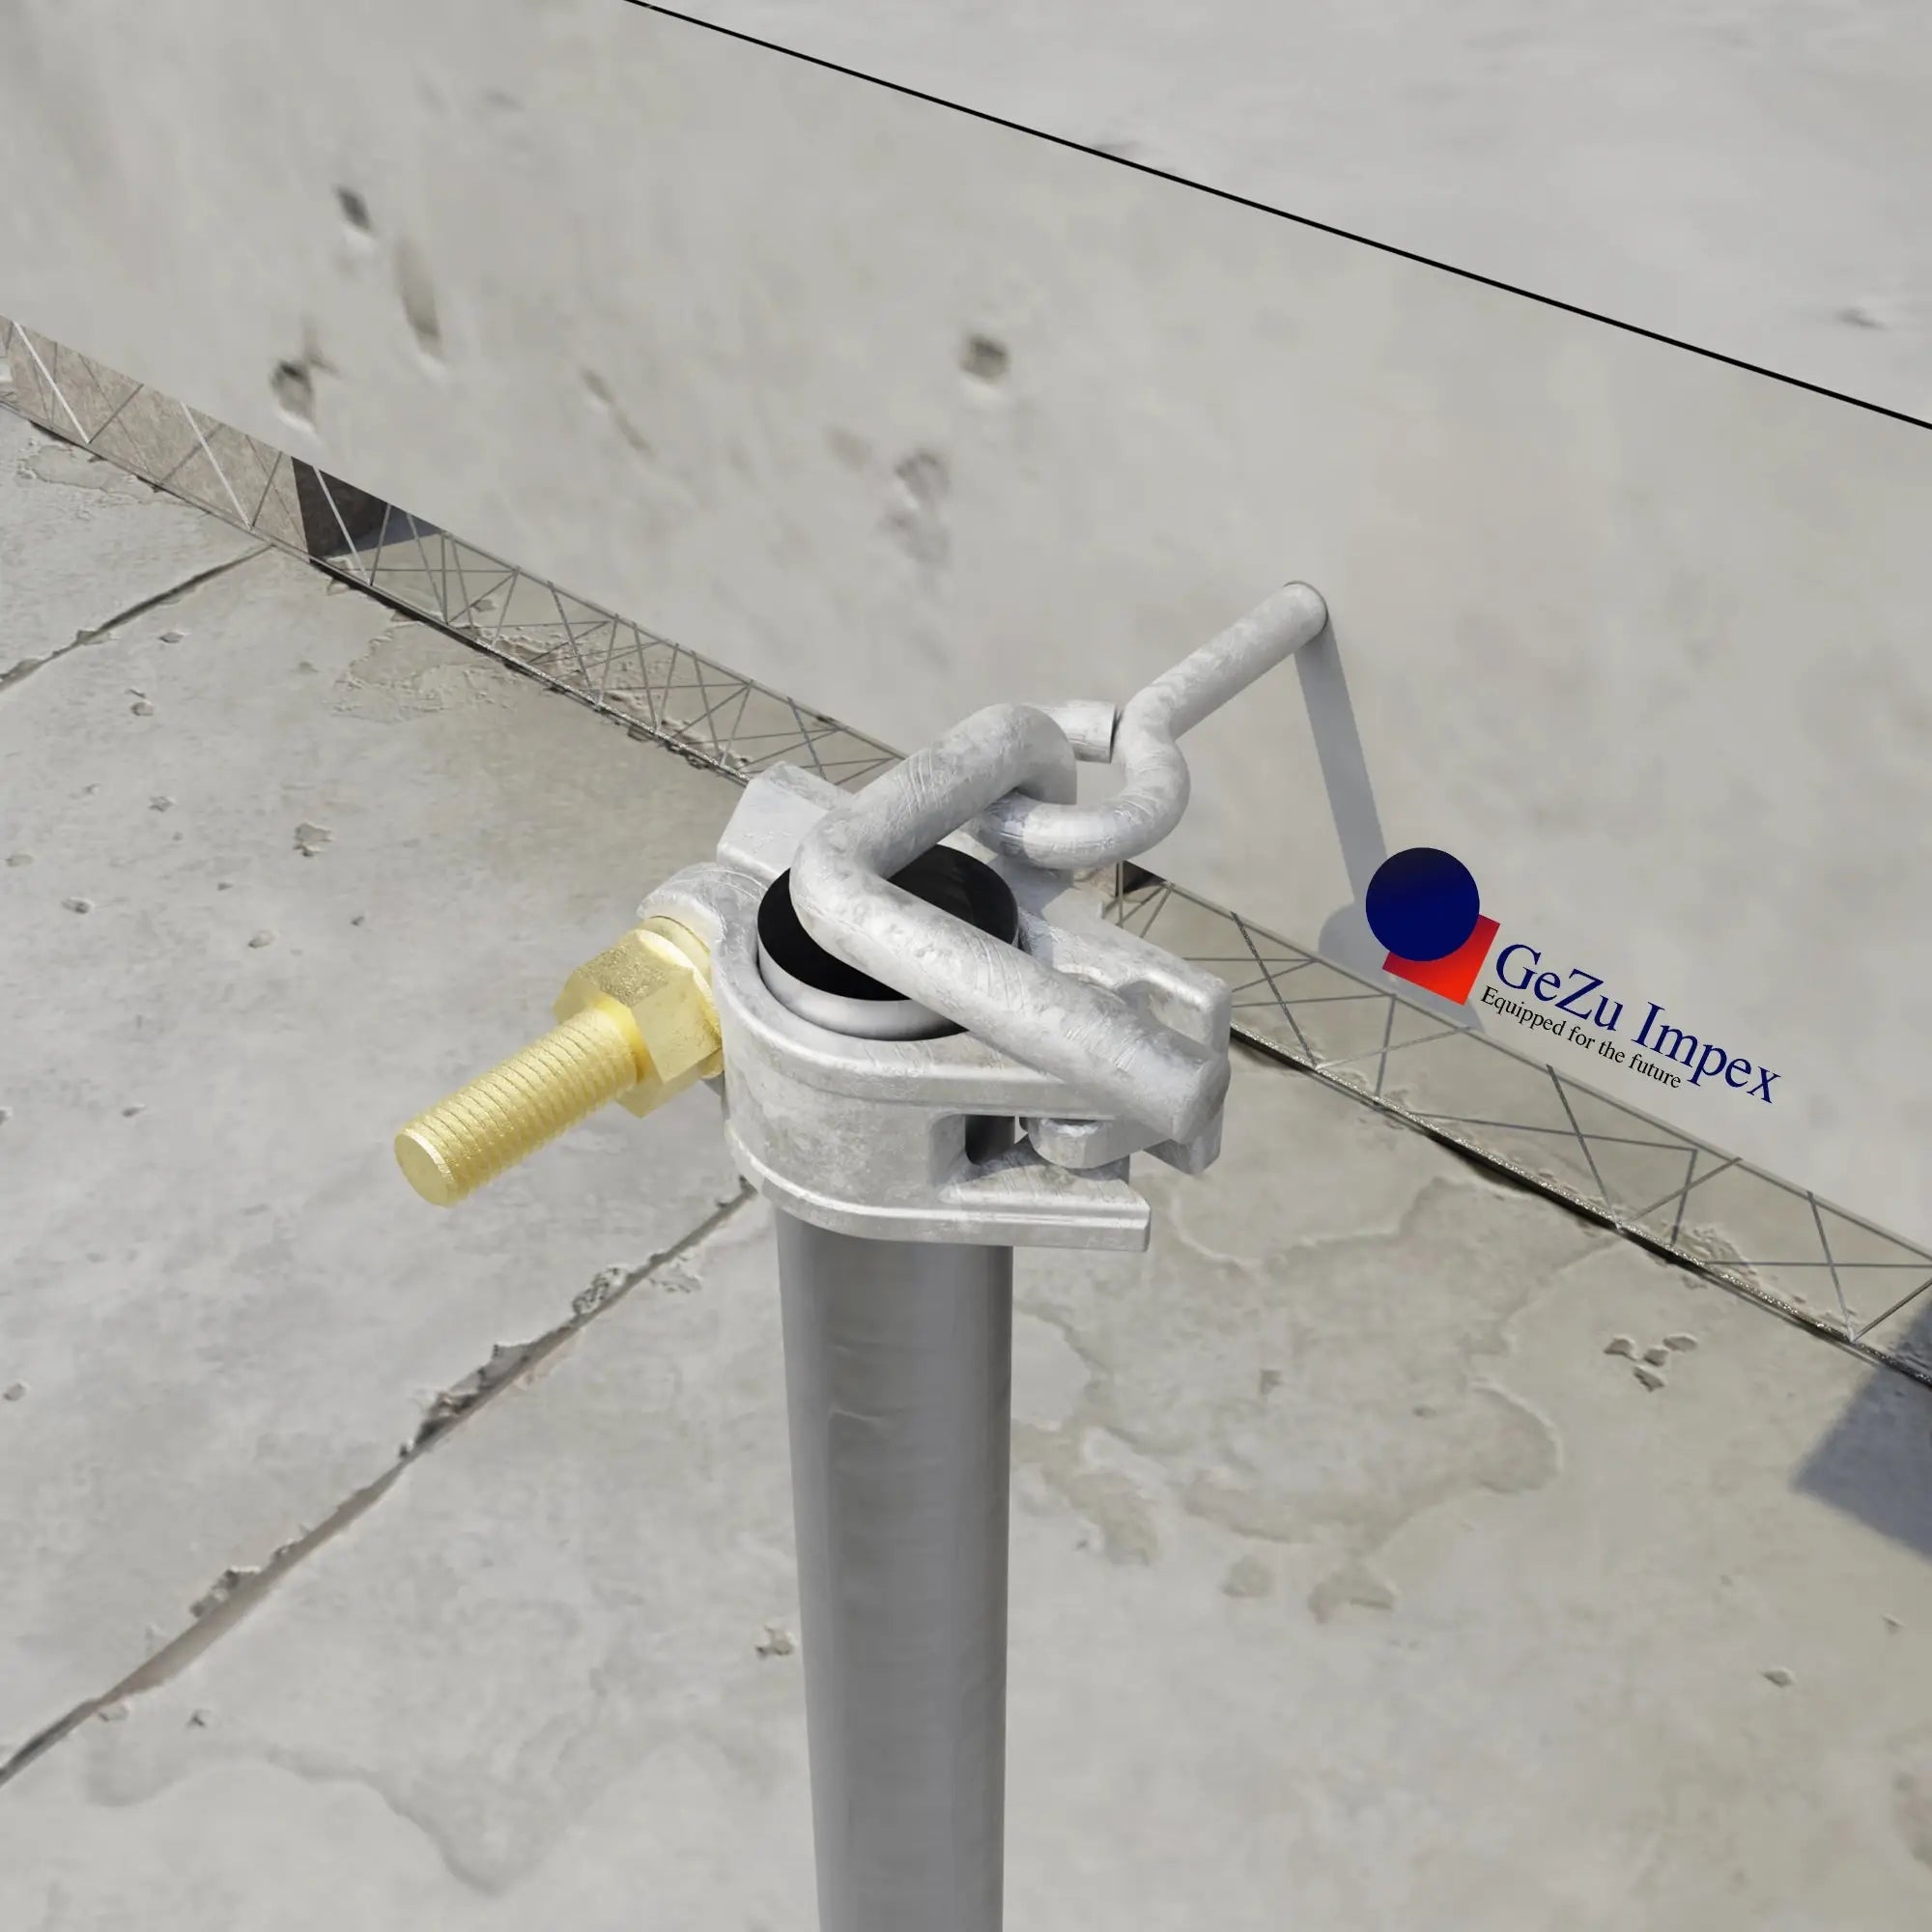
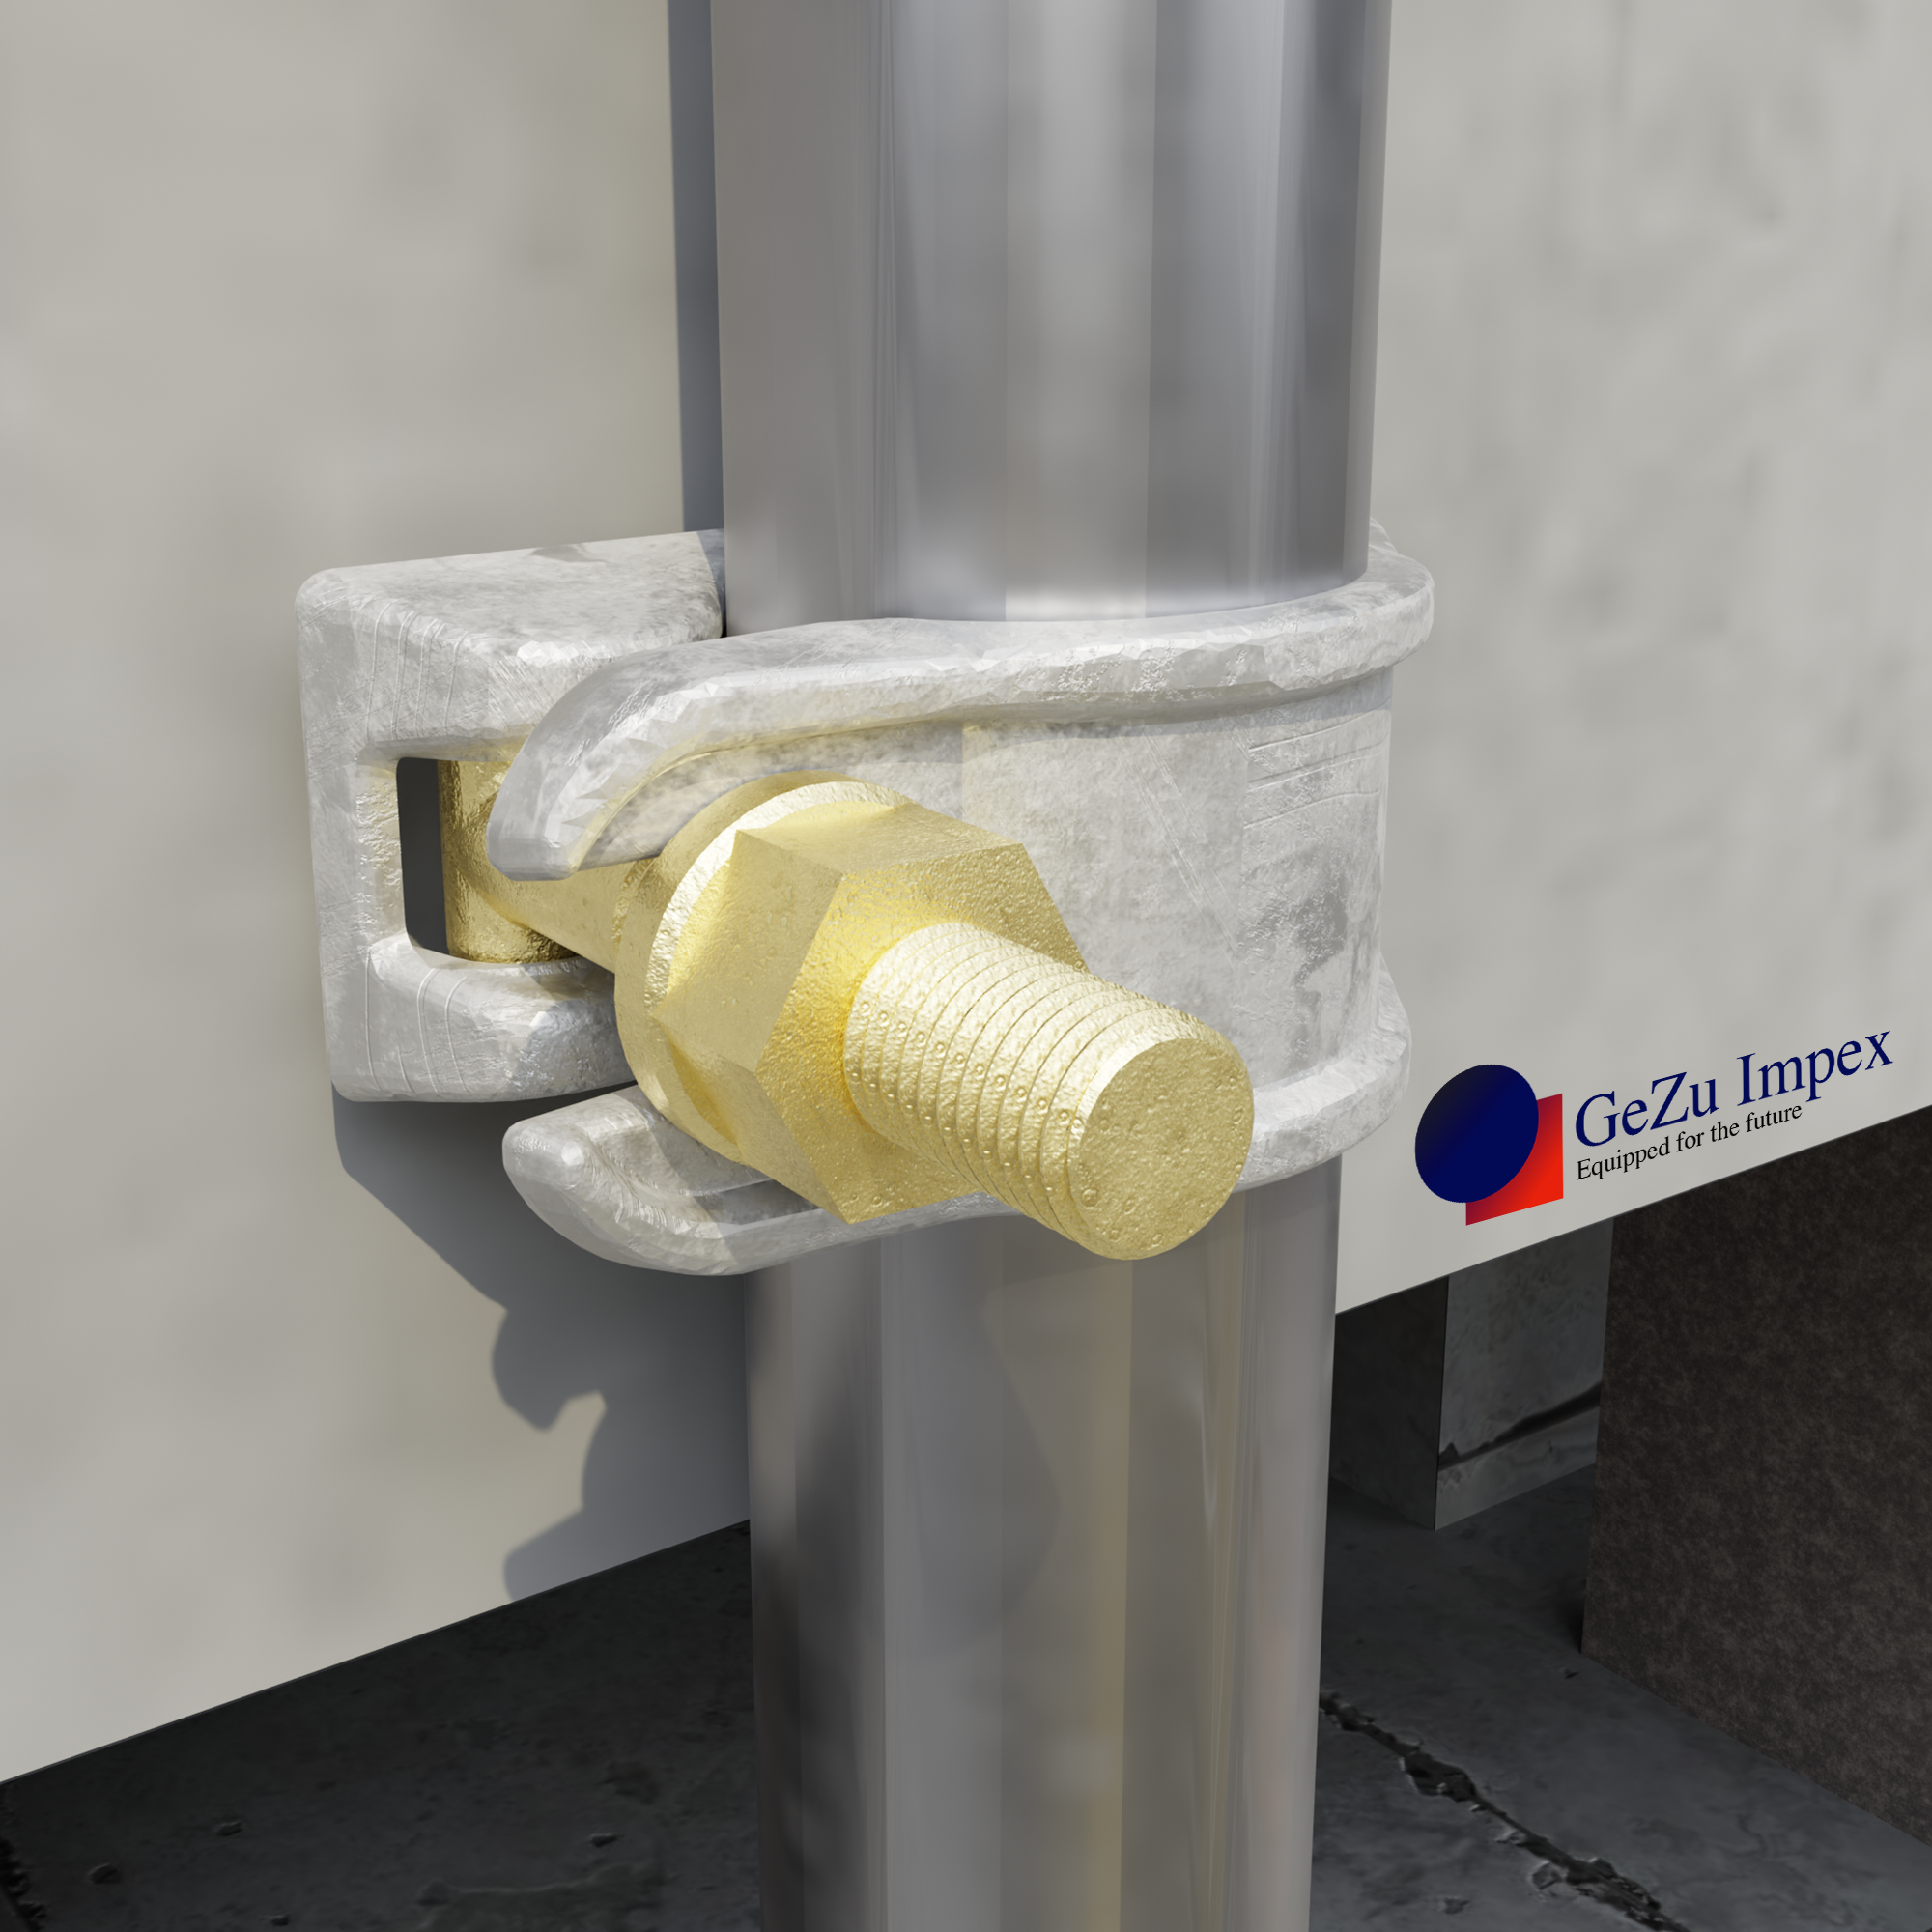
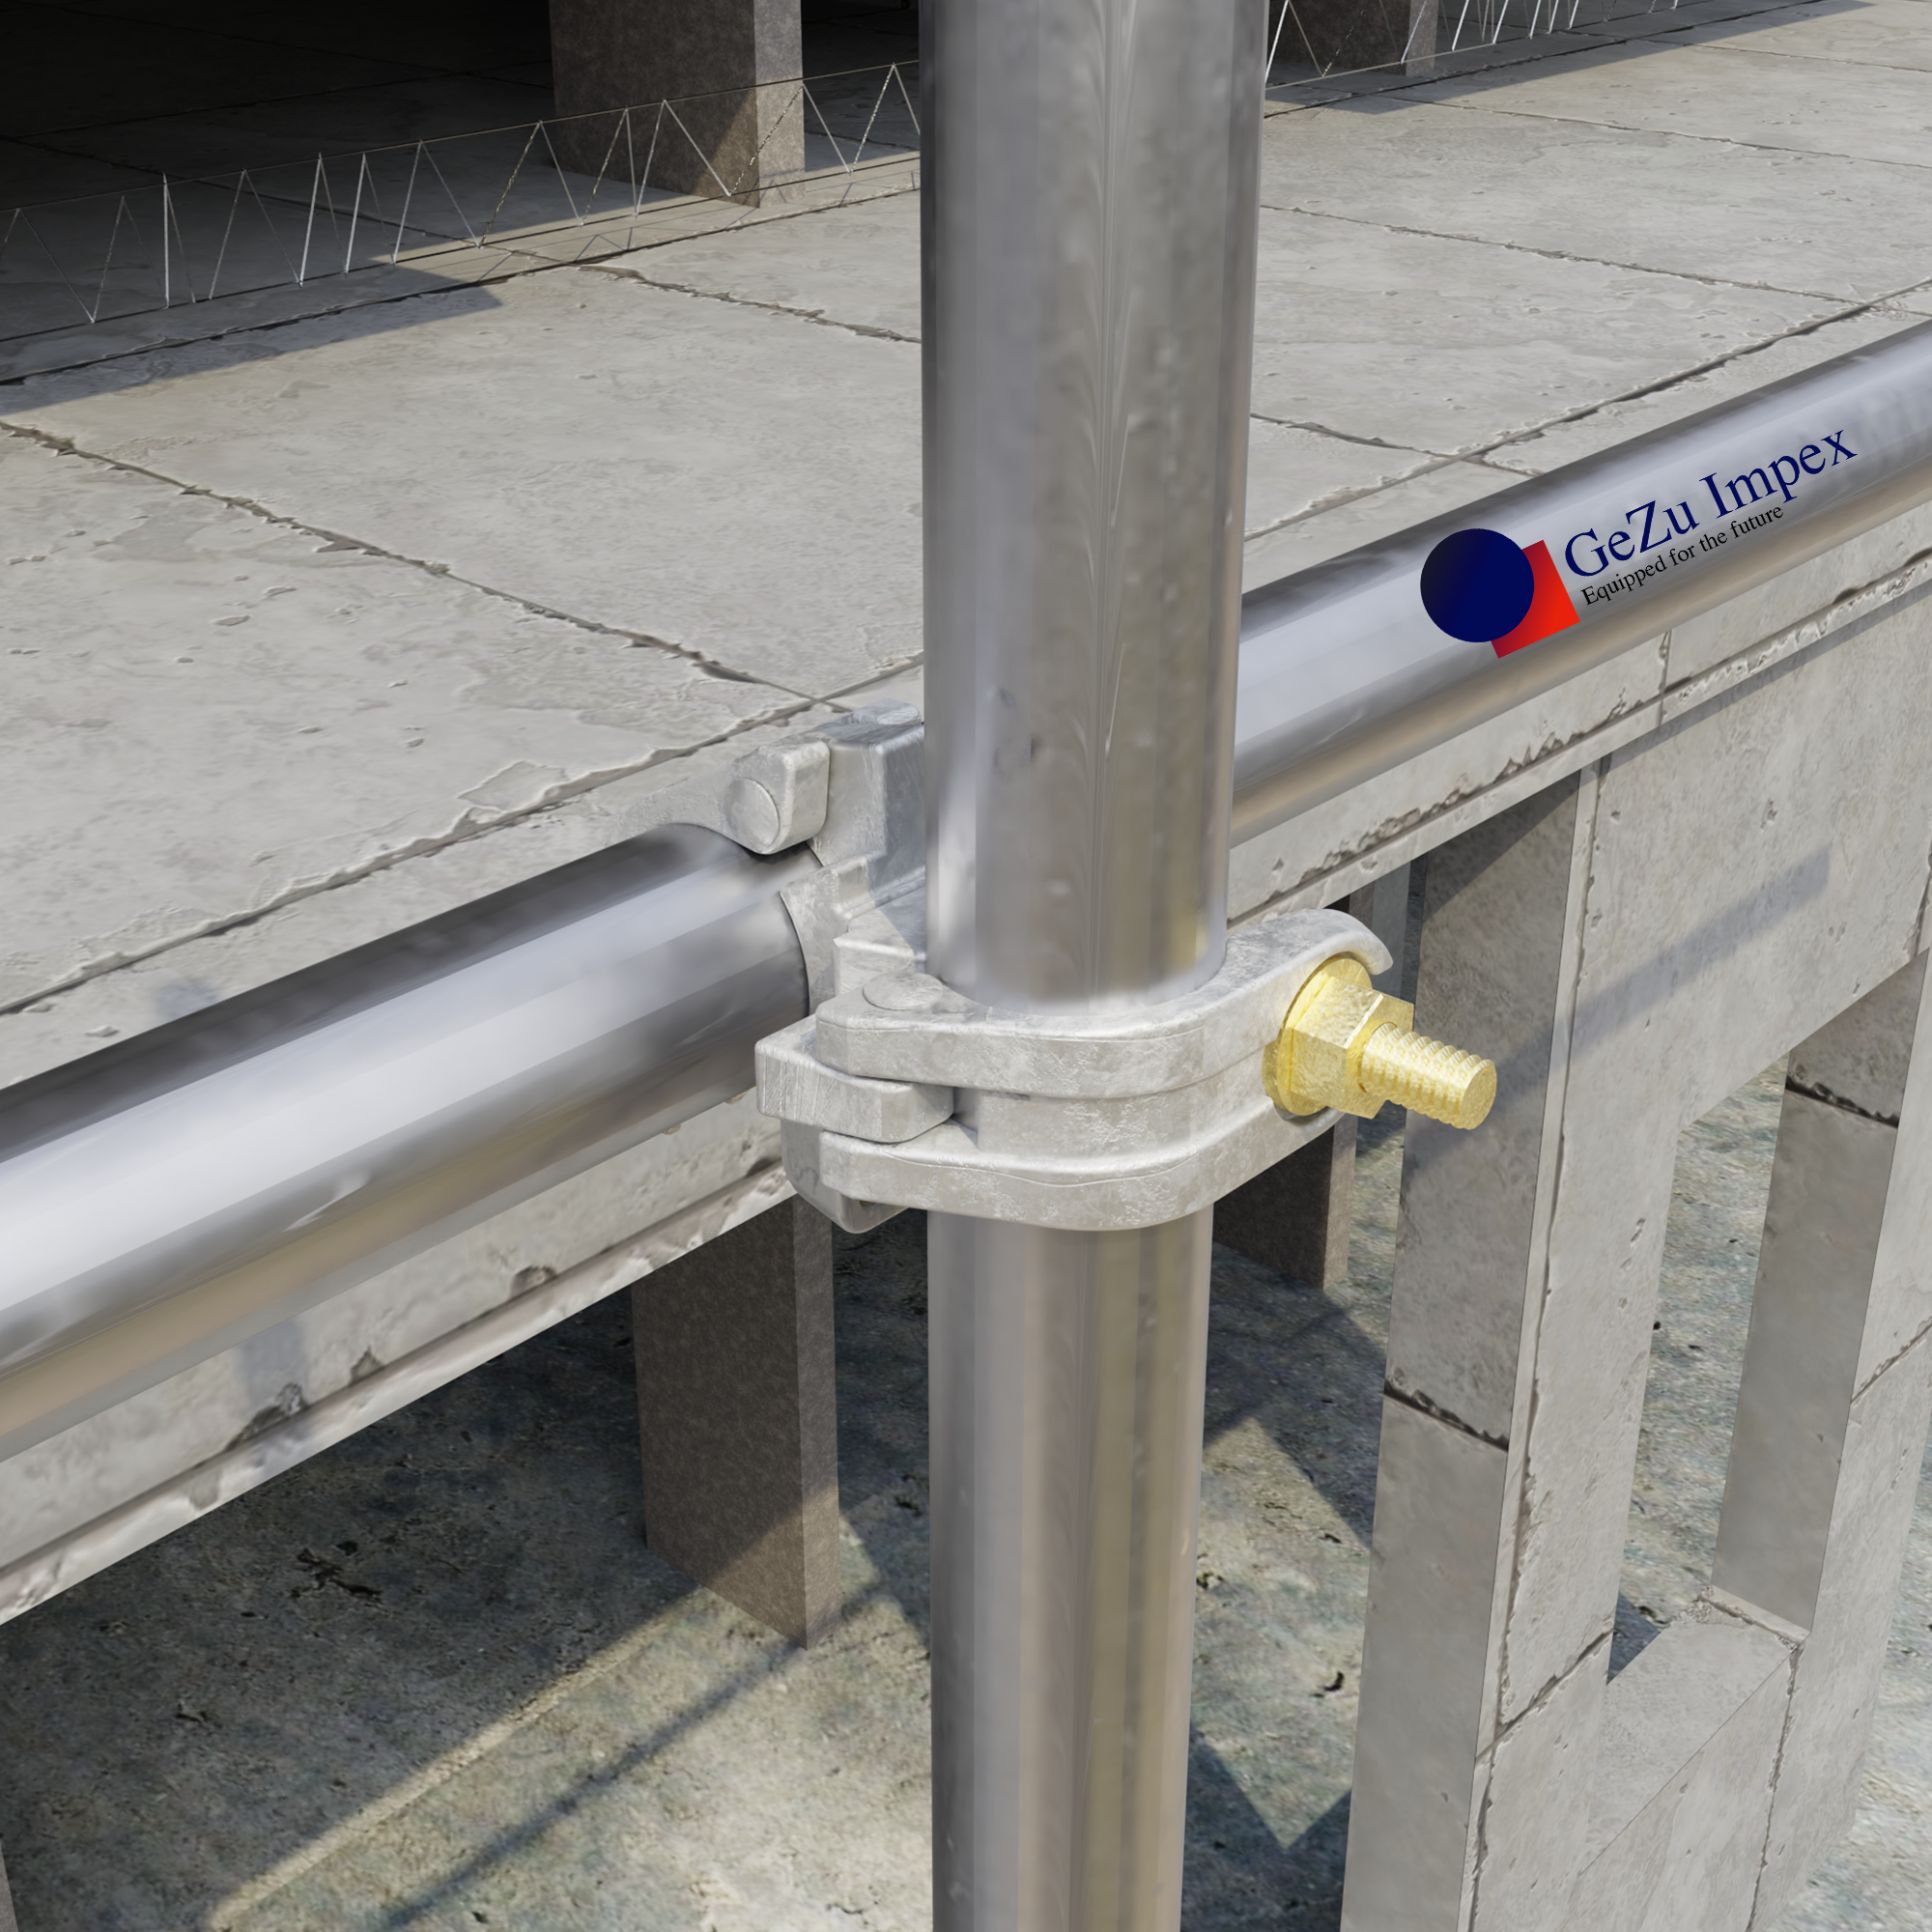
Step 4: Attach Vertical Post & Swivel Fitting
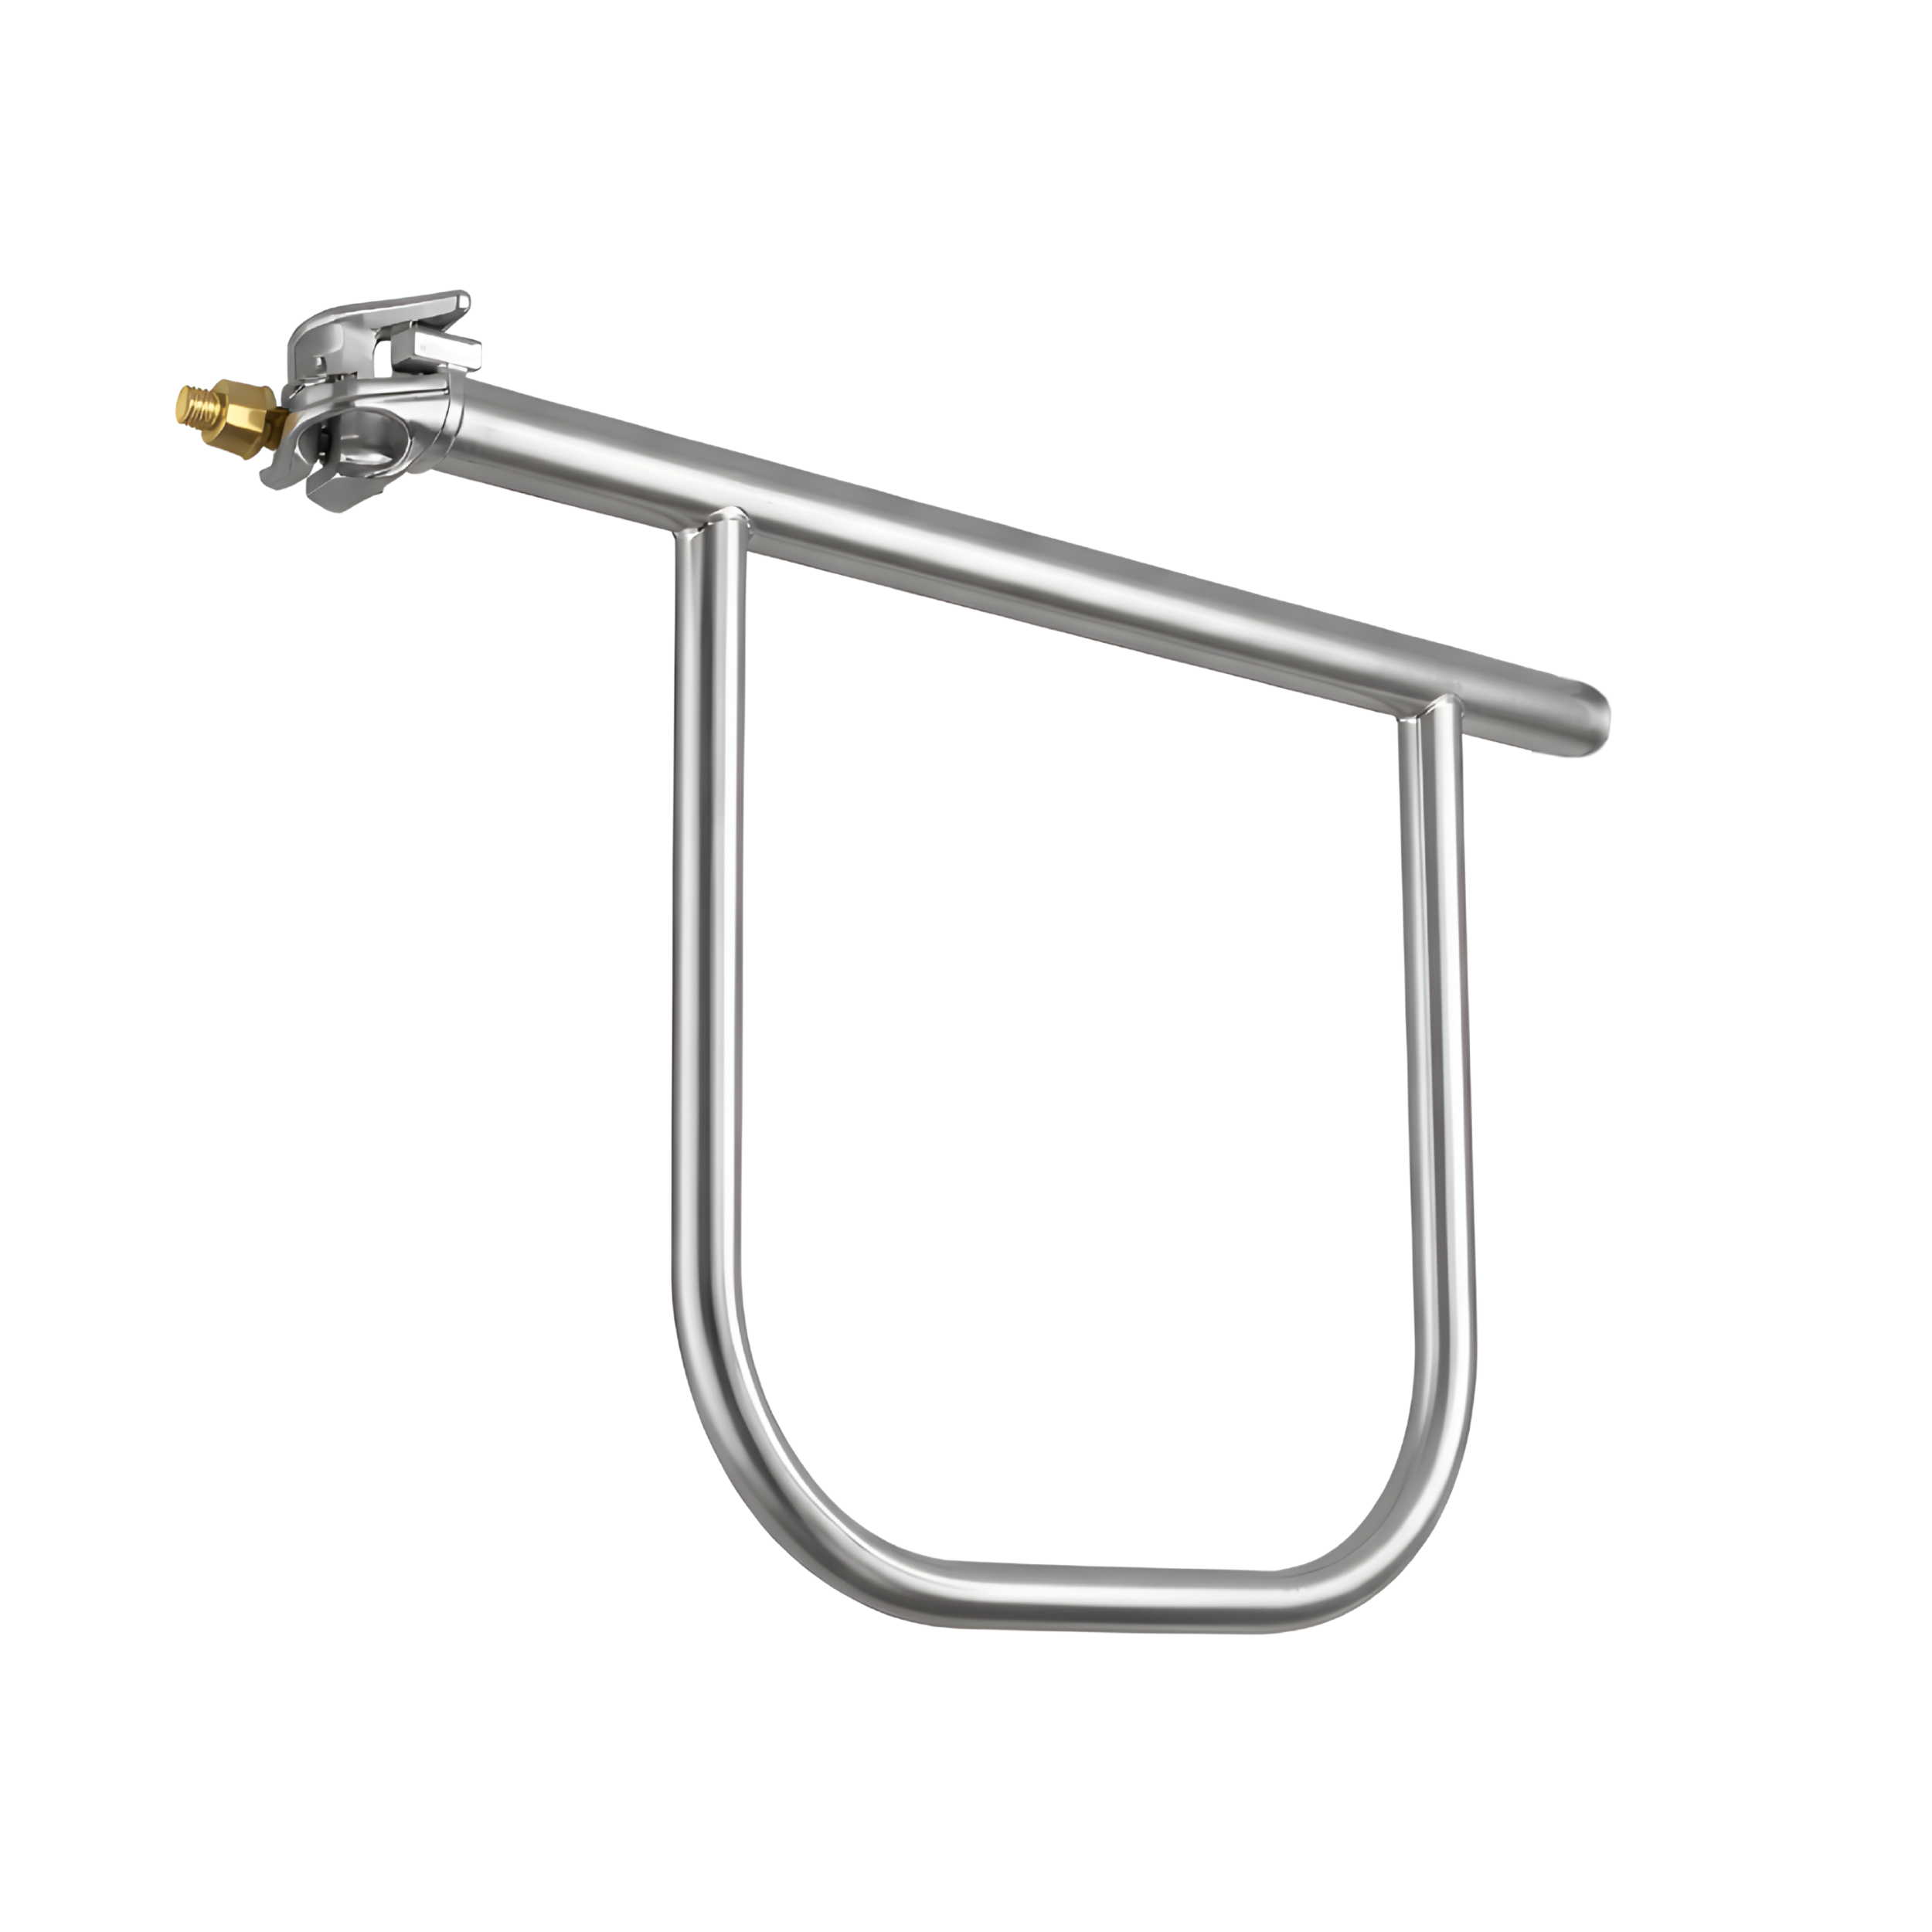
With the bottom flange locked in, slide your 42-inch post into it and tighten the grub screws with your Allen wrench. Once the post is standing upright, attach the swivel fitting to the top of the post. This is the connector that will link your angled handrail to the vertical post. You'll get everything dialed in during the next step.

Step 5: Attach Horizontal Rail
Now slide the handrail pipe (horizontal rail) into the swivel fitting and let it hang loose toward the other end. Don't tighten anything yet. With the rail hanging loosely, slide the second swivel fitting onto the hanging end of the rail, then slide the second post into that fitting. At this point, you've got the full railing assembled. But nothing is anchored at the top yet.

This loose-assembly step is the secret to a clean result. It lets you confirm alignment before you commit to drilling. And concrete anchor holes are not something you want to redo.
Step 6: Final Alignment and Tightening
Now, the railing is temporarily assembled. Walk around it. Look at it from a few angles. Is the rail running at a consistent height? At this step, you can adjust the angle and height as one end is still not anchored.

If it all lines up, mark your top base flange anchor holes (as we did for the 1st base flange), then disassemble the top end, drill the holes and secure the top flange to the ground. Once that flange is anchored, reattach the top post and tighten all your Allen screws.
Step 7: Insert the End Plugs
Because you're using swivel fittings, the top openings of each post are exposed. If you leave it open, water gets in and causes rust from the inside out. You can cover the ends with malleable plugs. It will also add a clean finish to the handrail structure.

Drop a plug into each open post end and pound it home with a rubber mallet. If you're using a regular hammer, place a folded cloth over the plug first to protect the finish. But once installed, the plugs are very difficult to remove, so ensure all work is complete before fitting them permanently.
Step 8: You're Done
Step back and give the railing a firm shake from every direction. If it doesn’t move, you’ve built yourself a solid handrail, and you did it without a welder or a contractor. The whole project takes 30 minutes, the materials are relatively affordable and the result is something that will genuinely last.